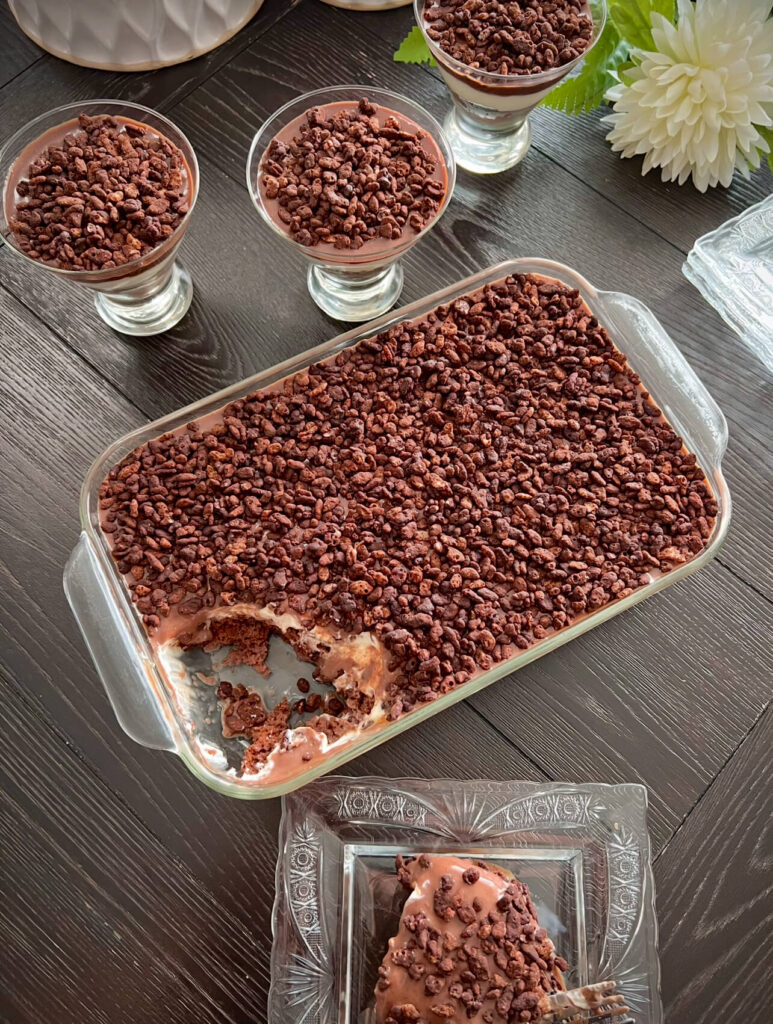
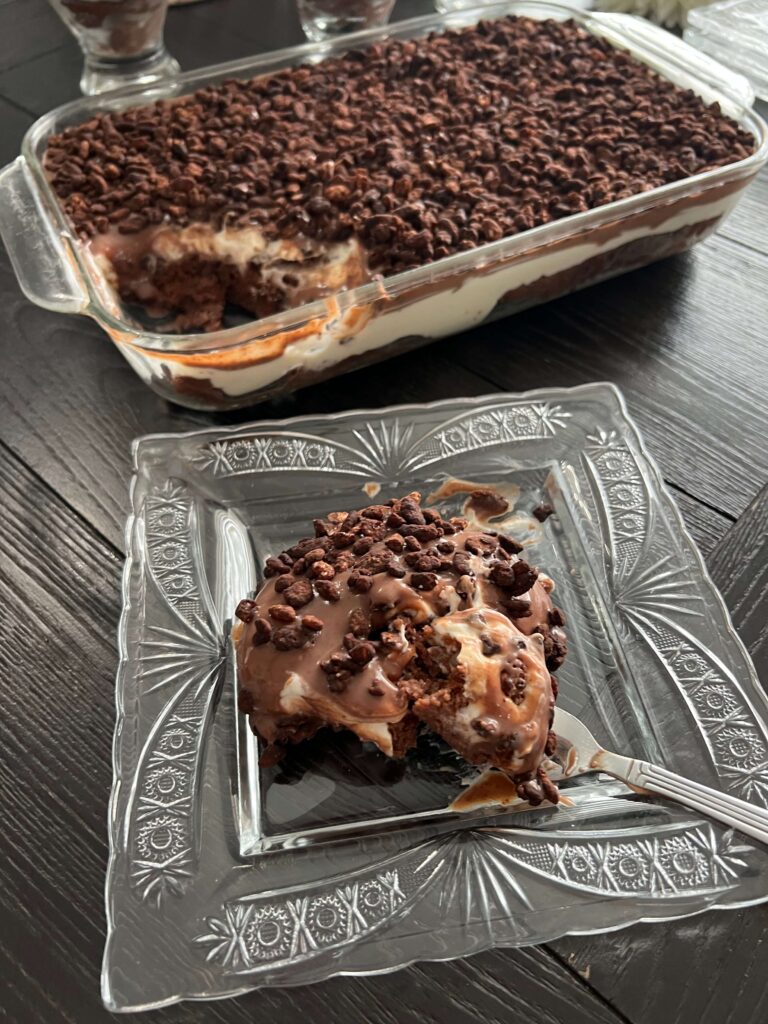
This Choco Crunch Cake is inspired by the viral Choco Crunch Lazy Cat Cake by Chef Ahmed Alzamel. It’s made of four delicious layers, each bringing a unique texture and flavor. The first layer consists of a rich chocolate cake soaked in chocolate milk, making it incredibly moist. The second layer is a creamy, velvety mix of cream cheese and whipped cream, adding a smooth contrast. The third layer is a luscious chocolate ganache that enhances the richness. Finally, the fourth layer—a crunchy chocolate-coated crispy rice topping dusted with cocoa powder—adds the perfect crunch.
This cake is similar to a chocolate trifle, with a combination of creamy, chocolaty, and crunchy textures. It’s incredibly rich, indulgent, and absolutely irresistible!
Choco crunch cake ingredients
First Layer: Chocolate Cake
Chocolate cake – A rich and moist chocolate cake forms the base of this dessert, providing a deep cocoa flavor.
Chocolate milk – Soaking the cake in chocolate milk enhances its moisture and intensifies the chocolaty taste.
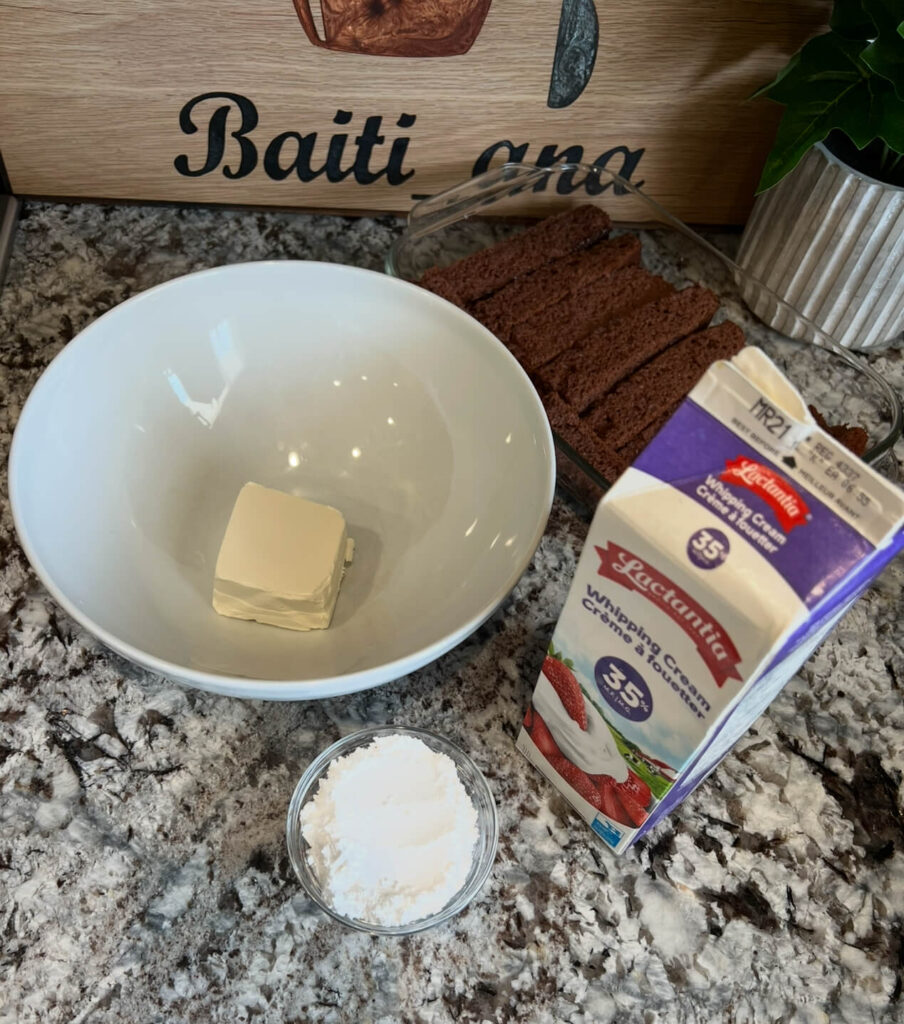
Second Layer: Cream Mix
Cream cheese – Adds a smooth, slightly tangy richness that balances the sweetness of the other layers.
Whipping cream – Creates a light and airy texture, making the cream layer soft and fluffy.
Powdered sugar or sweetened condensed milk – Provides the perfect level of sweetness and blends seamlessly into the creamy mixture.
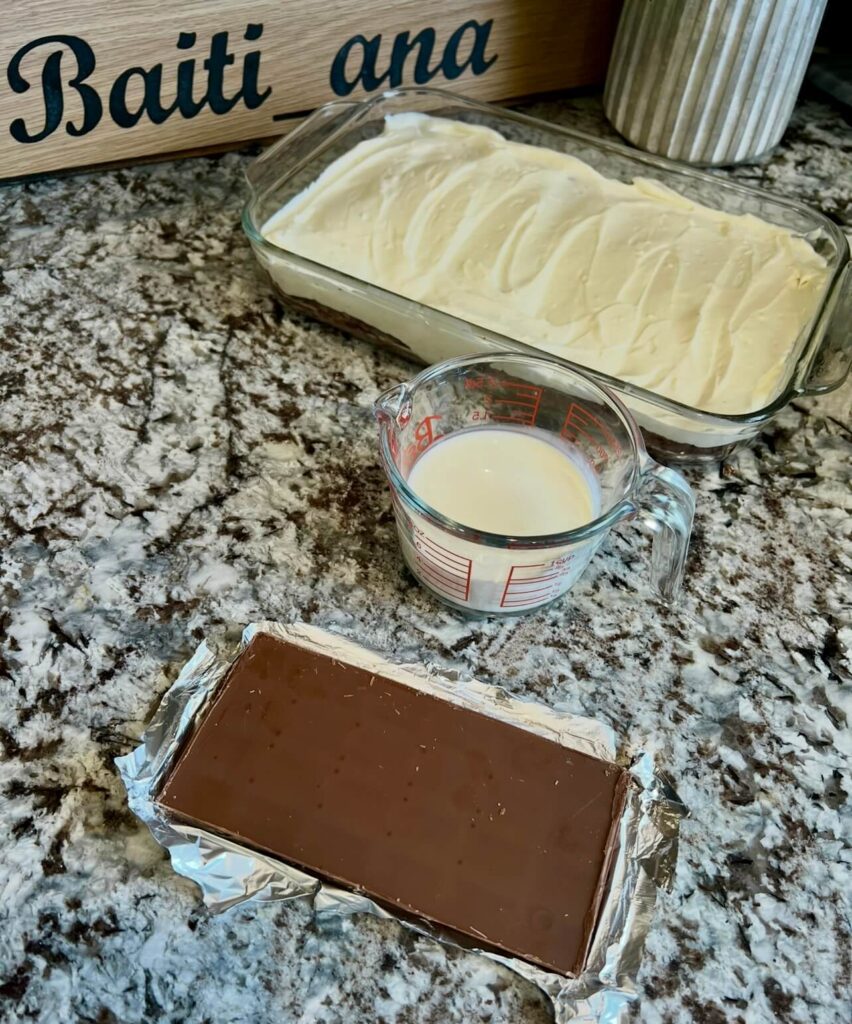
Third Layer: Chocolate Ganache
Milk chocolate – Melts into a silky, luscious ganache that adds a rich, chocolaty depth to the dessert.
Whipping cream or thickened cream (ashta can) – Helps create a smooth and velvety consistency in the ganache, making it easy to spread.
Fourth Layer: Choco Crunch Topping
Crispy rice or cocoa crispy cereal – Brings a crunchy texture that contrasts beautifully with the creamy layers.
Melted chocolate – Coats the crispy cereal, giving it a rich chocolate flavor and helping it stick together.
Unsweetened cocoa powder – Adds a touch of bitterness to balance the sweetness and enhances the overall chocolate taste.

How to make choco crunch cake
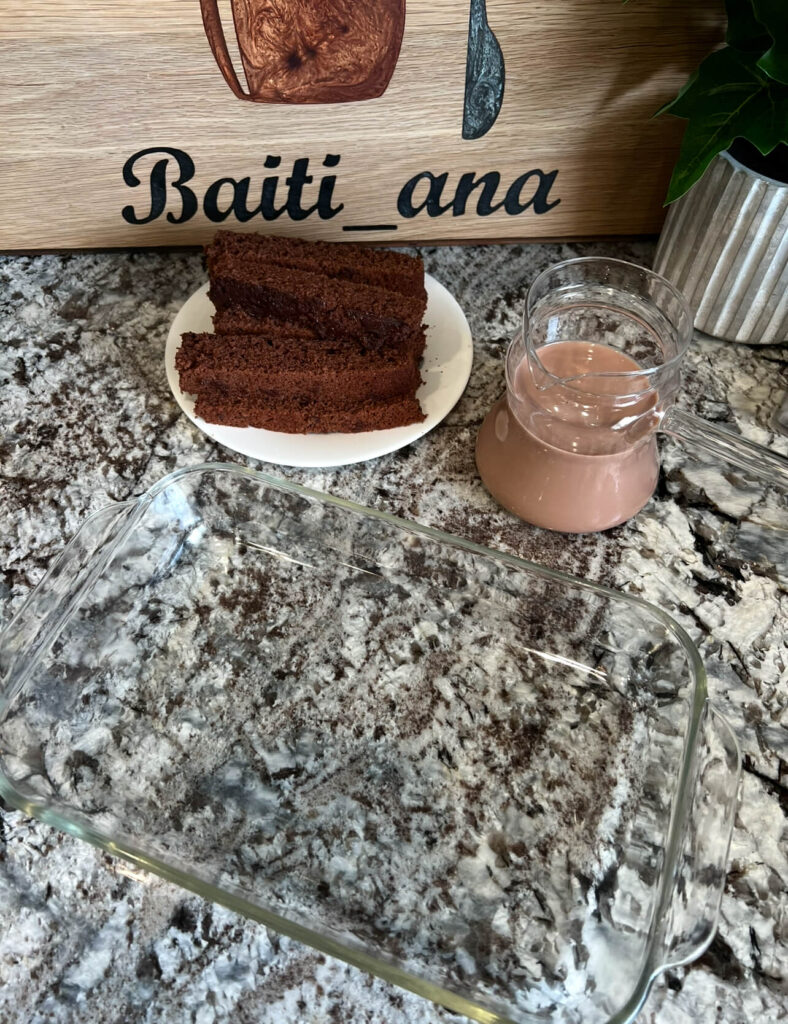
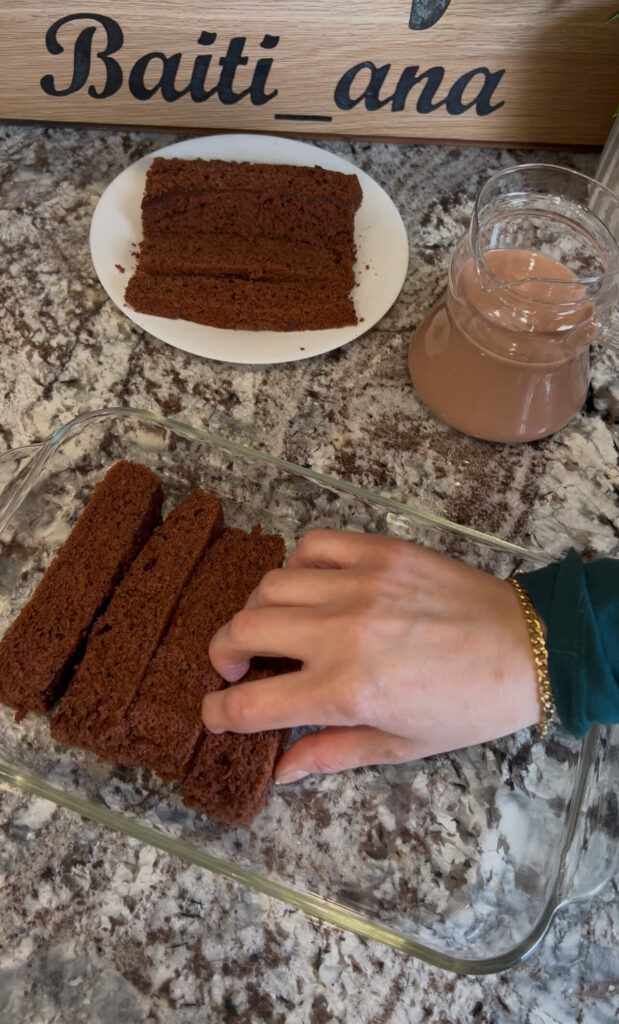
Step 1: Prepare the Chocolate Cake Base
1. Cut the chocolate cake into thin slices and arrange them evenly in a tray.
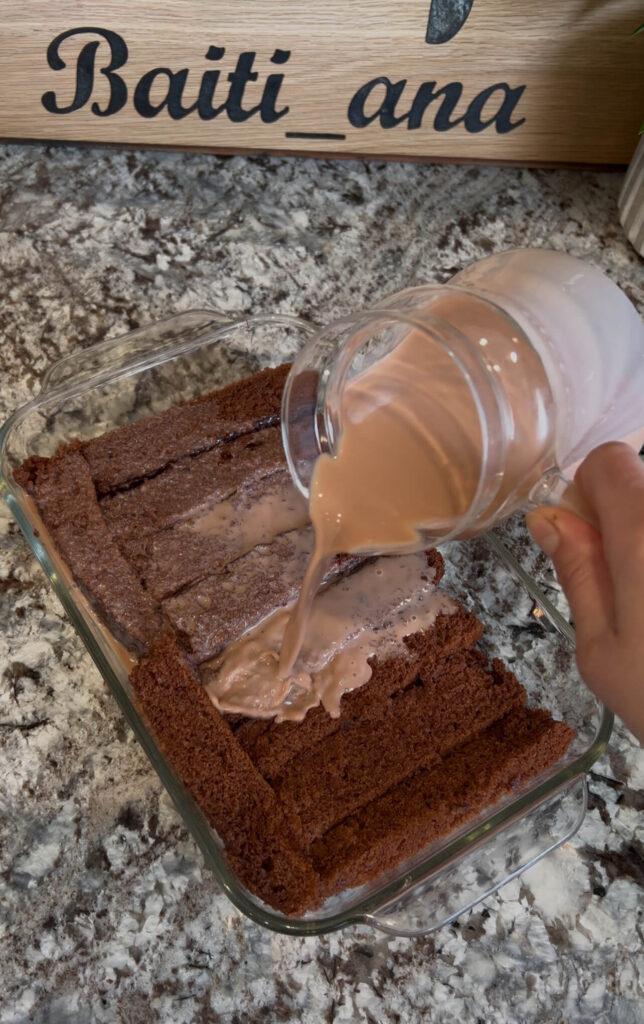
2. Pour chocolate milk over the cake to soak it, ensuring it becomes moist and flavorful.
Step 2: Make the Cream Layer
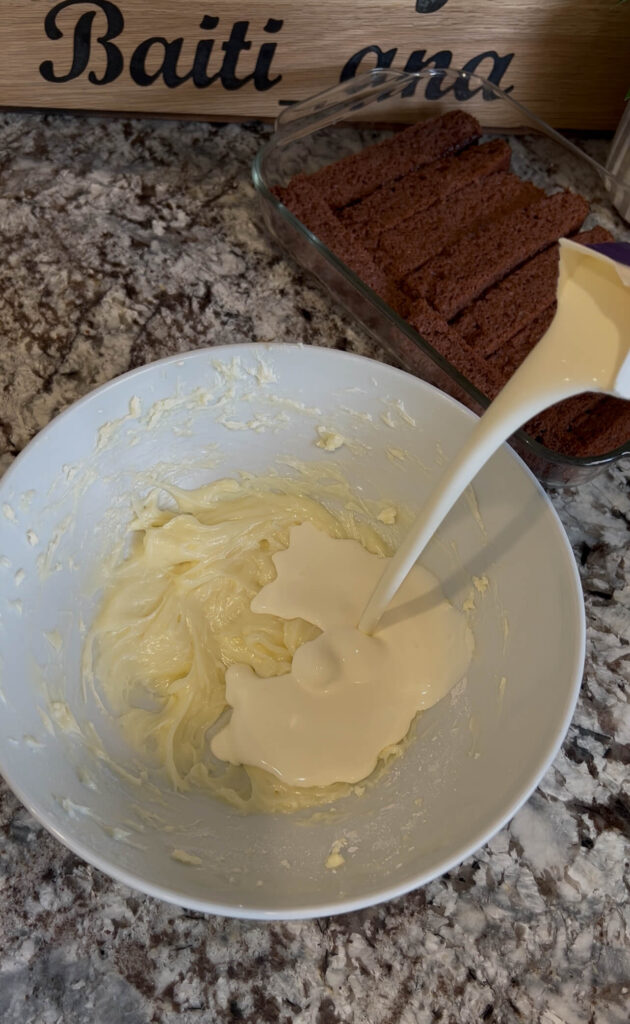
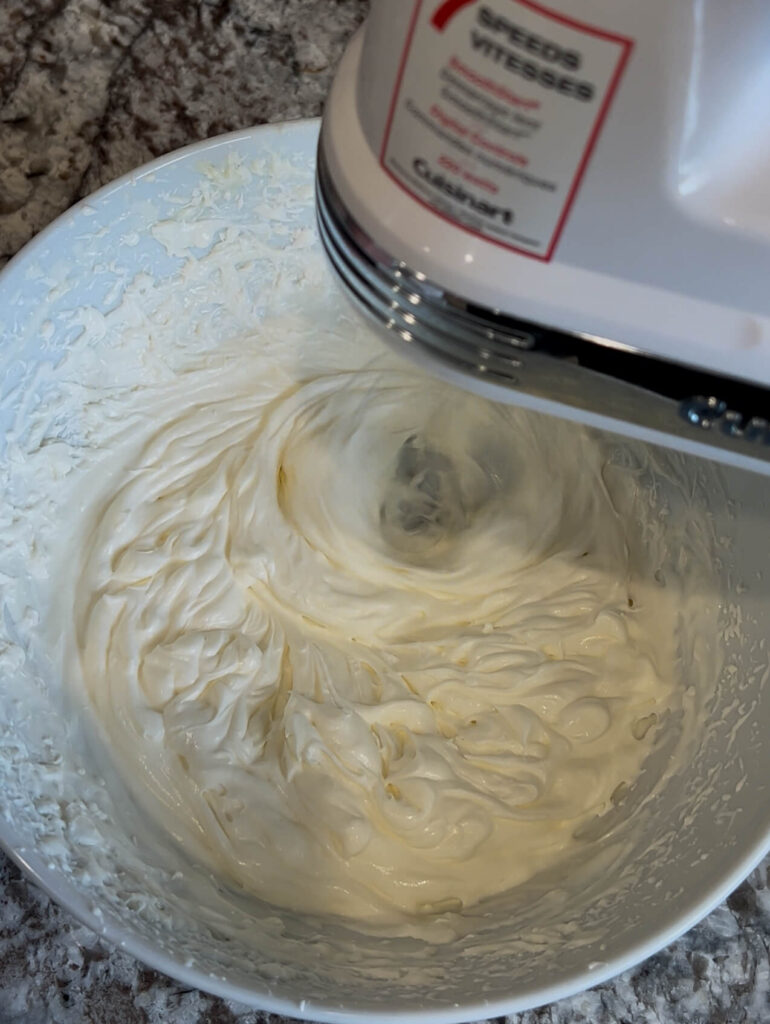
1. In a bowl, mix softened cream cheese with powdered sugar or sweetened condensed milk until smooth and creamy.
2. Add cold whipping cream and beat the mixture until light, fluffy, and well combined.
3. Spread the cream mixture evenly over the soaked chocolate cake.
Step 3: Prepare the Chocolate Ganache
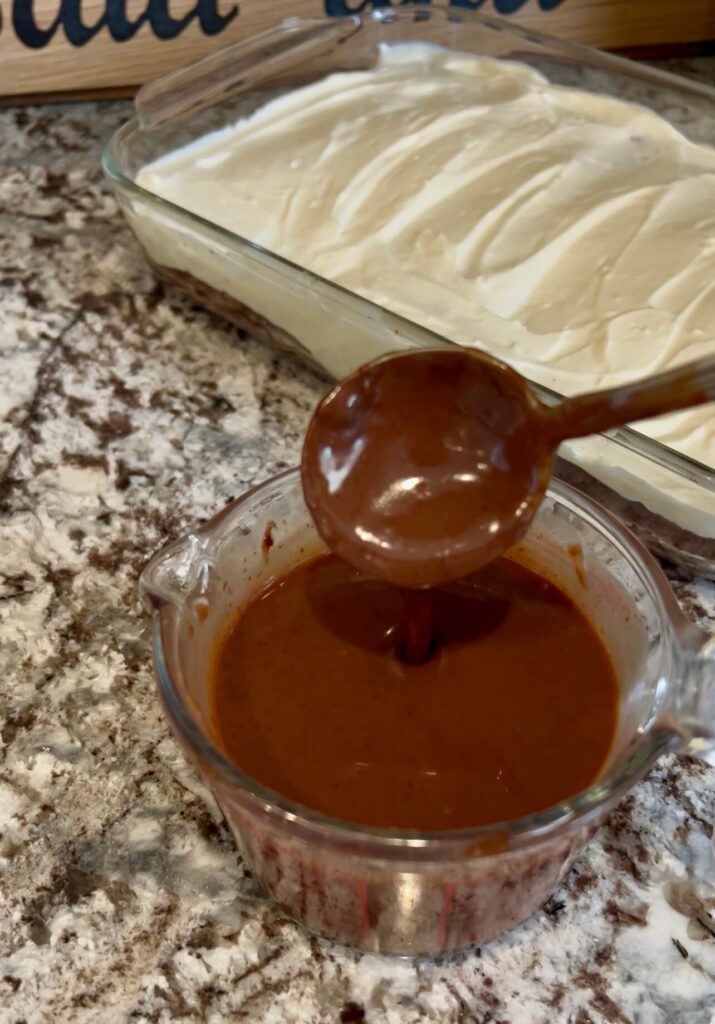
1. Place chopped milk chocolate in a microwave-safe bowl and add whipping cream.
2. Microwave for about a minute, then stir until the chocolate fully melts and blends into a smooth, thick ganache.
note: if using thickened cream (ashta can) melt the chocolate then add the thicker cream and mix until it’s smooth.
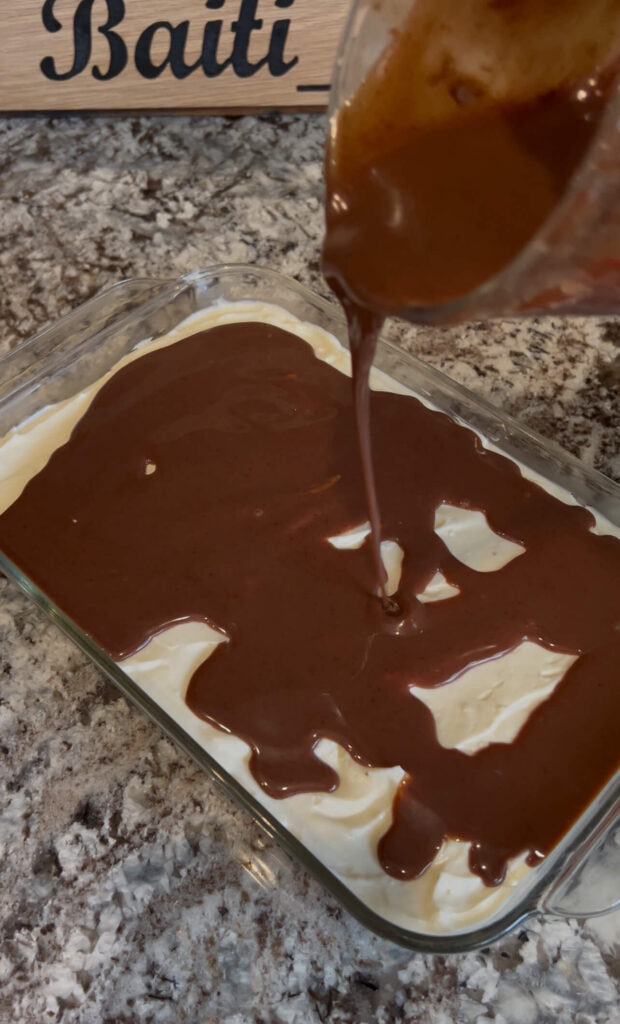
3. pour the chocolate ganache over the cream layer, spreading it evenly.
4. Cover and place the cake in the fridge for at least a couple of hours to allow the ganache to set completely.
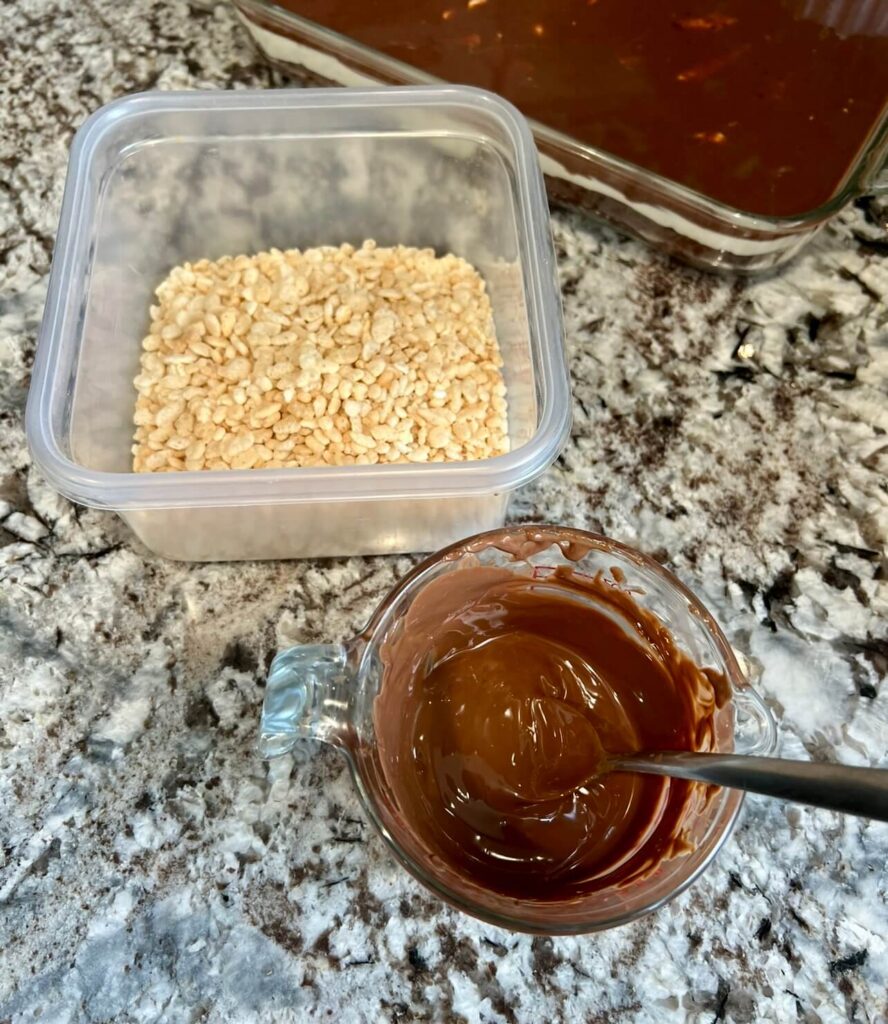
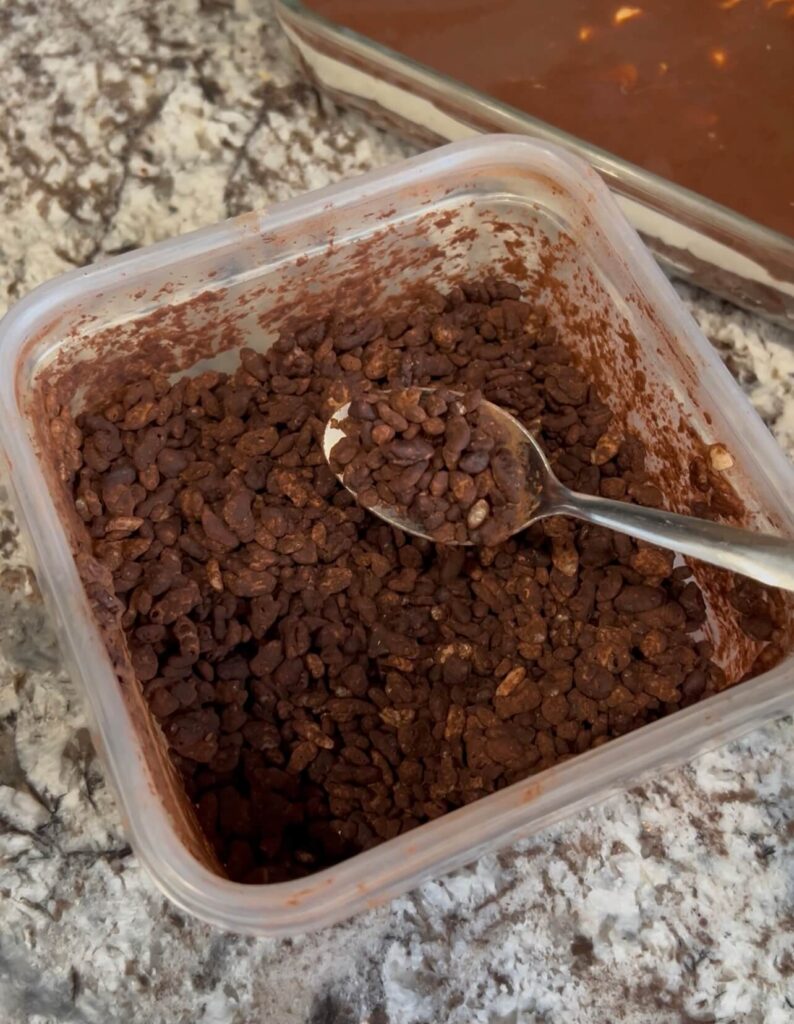
Step 4: Make the Choco Crunch Topping
1. In a container, combine crispy rice or cocoa crispy cereal with melted chocolate.
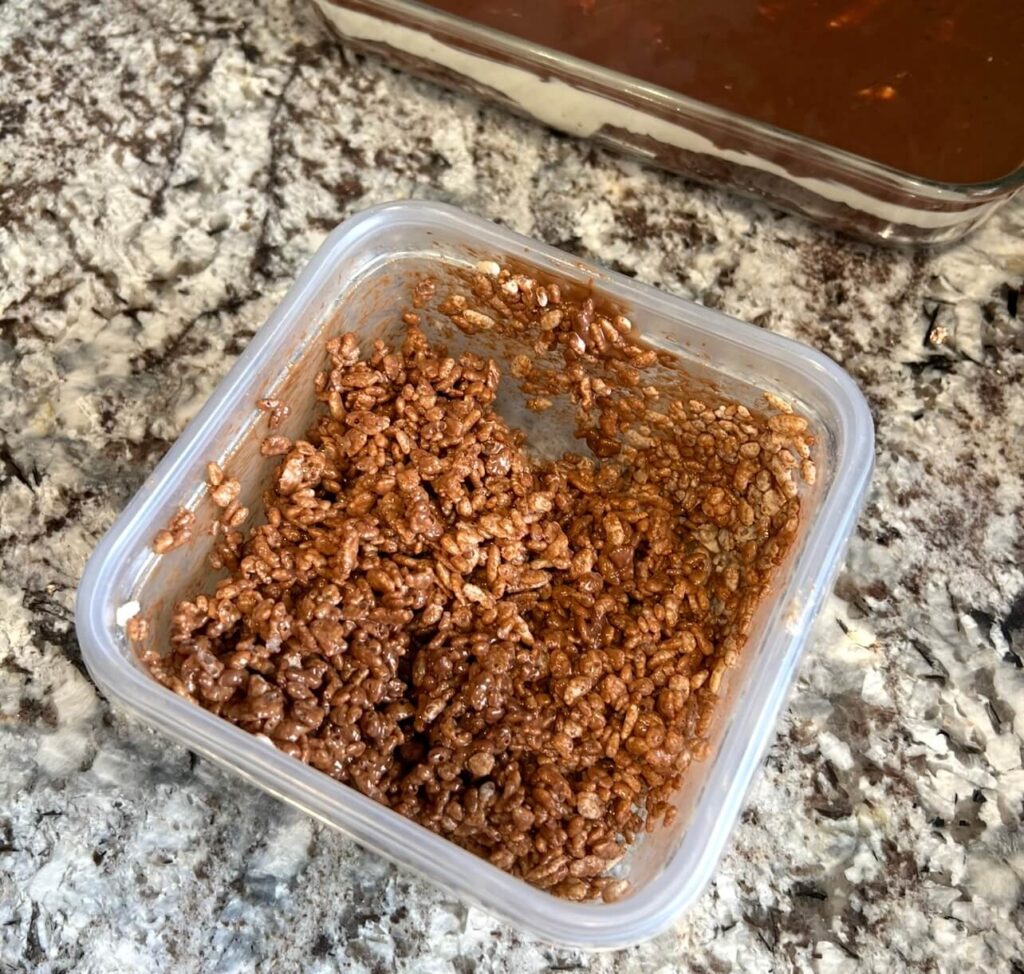
2. Close the container and shake well to coat all the crispy pieces in chocolate.
3. Open the container, add cocoa powder, close it again, and shake until the cocoa evenly coats the chocolate-covered cereal.
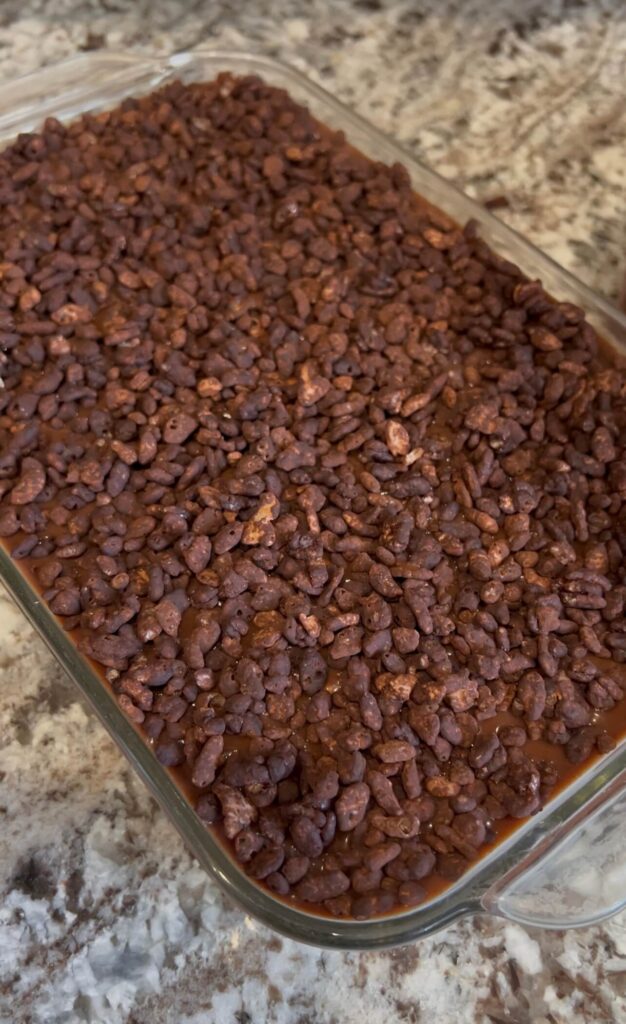
Step 5: Assemble and Serve
1. Just before serving, sprinkle the prepared Choco Crunch topping over the cake to maintain its crispy texture.
2. Slice, serve, and enjoy the perfect combination of creamy, crunchy, and chocolaty goodness!
Different Options to Make choco crunch Cake
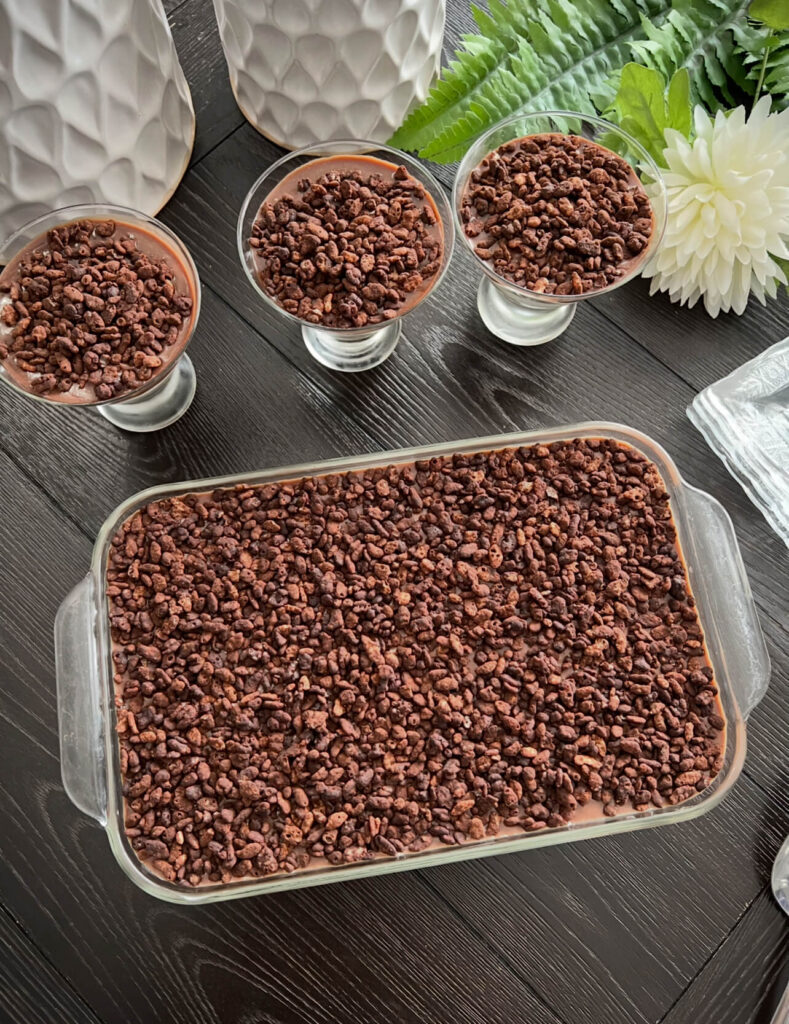
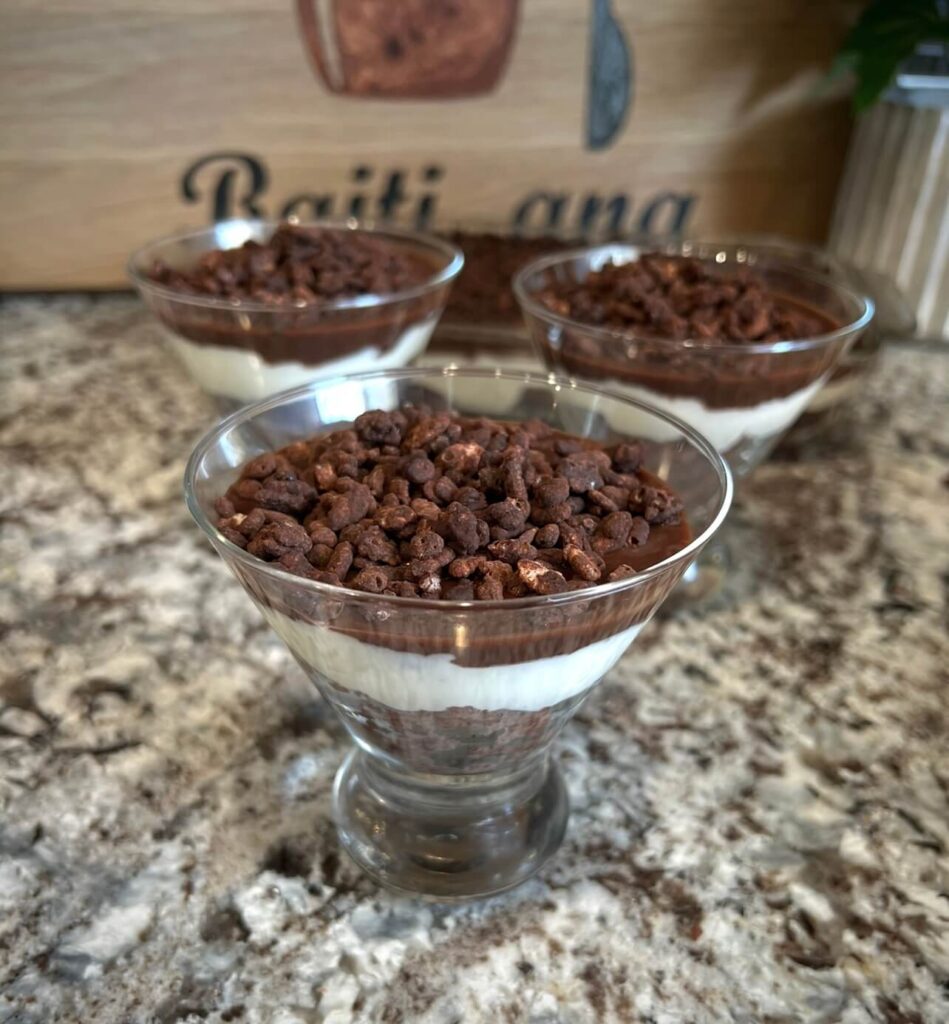
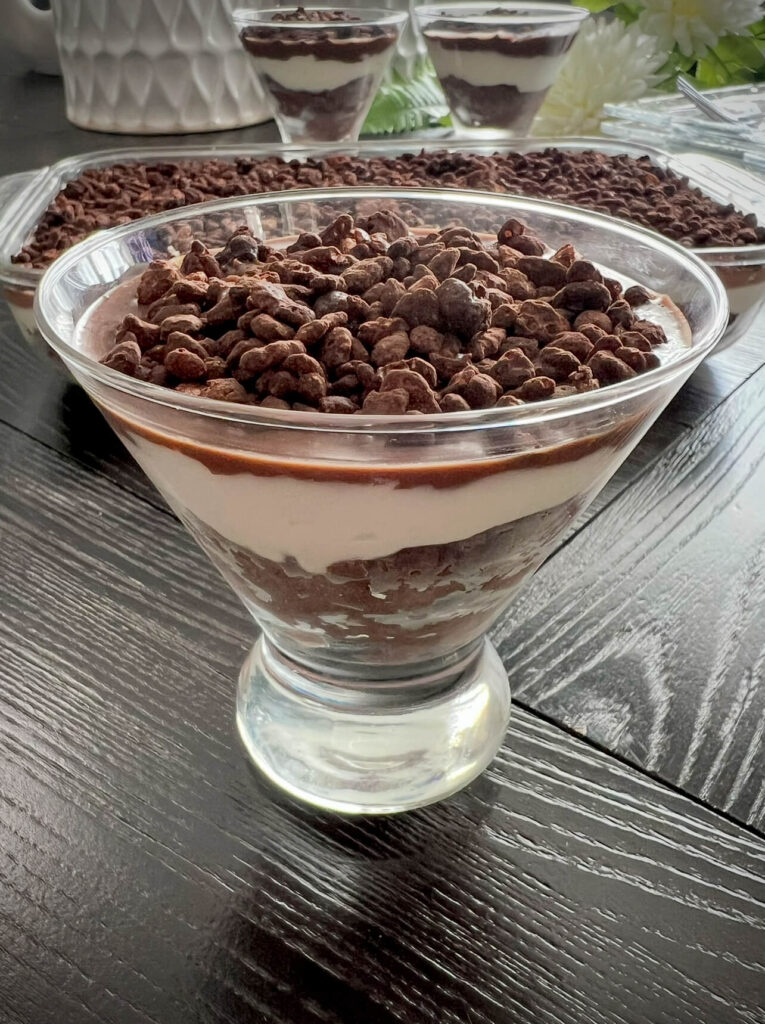
1. In Cups:
• Layer the chocolate cake, pour chocolate milk, add cream mix, ganache, and crunchy topping in individual dessert cups.
• Serve as single-serve portions for easy and elegant presentation.
2. In a Trifle Dish:
• Layer the ingredients in a large trifle dish, creating beautiful visible layers.
• This option works great for parties or family gatherings, giving everyone a chance to scoop their serving.
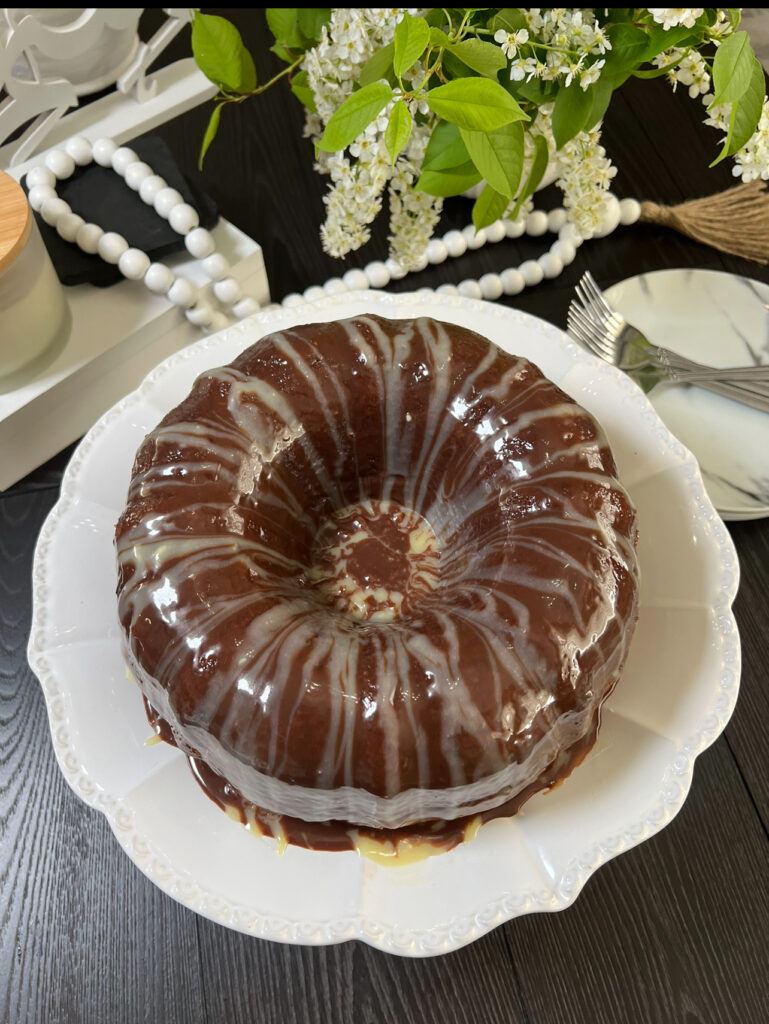
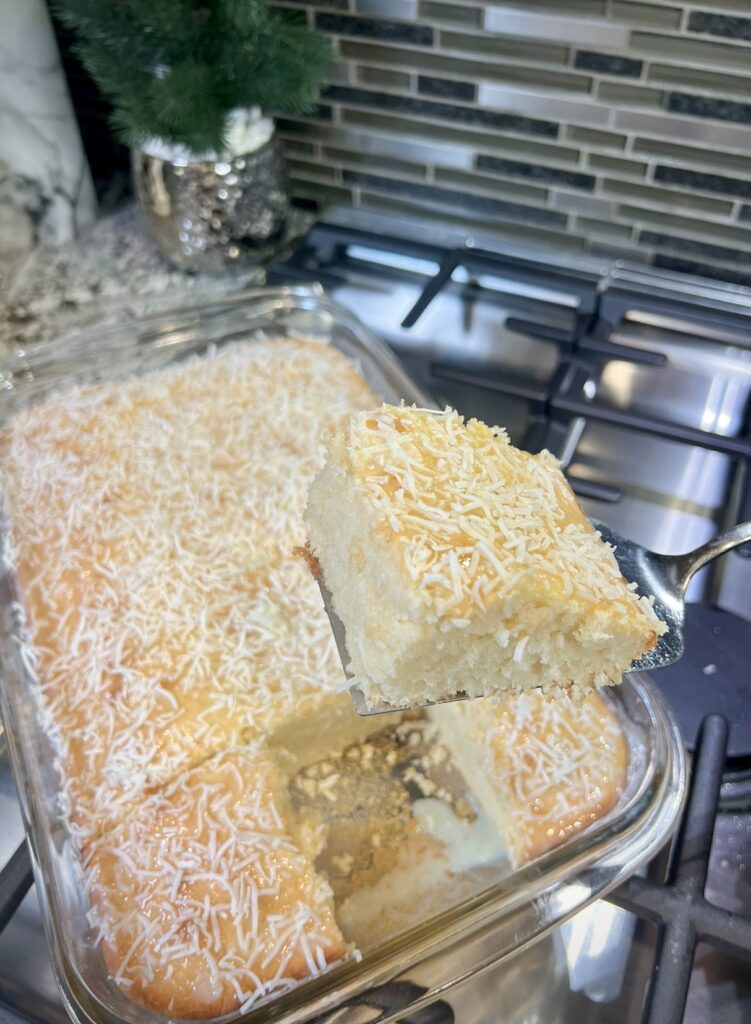
3. In a Rectangular Tray:
• Instead of a round cake, spread the layers in a rectangular or square tray, then cut into squares for easy serving.
• Ideal for potlucks or when you want to serve a larger group.
4. In Mini Glass Jars:
• Layer the cake in small mason jars or glass containers for a rustic and fun presentation.
• Perfect for gift-giving or for a charming table display.
frequently asked questions
1. Can I use store-bought cake?
Yes! A homemade cake works too.
2. Can I use dark chocolate?
Yes, it adds a richer flavor.
3. How long should it chill?
At least 2 hours for the best texture
4. Can I make it ahead?
Yes, but add the crunchy topping just before serving.
5. How do I store leftovers?
Keep in an airtight container in the fridge for up to 3 days.
6. Can I use white chocolate?
Yes, but it will be sweeter.
7. What can I use instead of crispy rice cereal?
Try cornflakes, chopped nuts, or crushed biscuits.
8. Is it very sweet?
You can adjust by using dark chocolate or less sugar.
9. Can I add extra toppings?
Yes! Nuts, caramel, or chocolate shavings work great.
10. Can I make it in cups?
Yes, layering in dessert cups makes it easy to serve.
Tips and Tricks
1. Chill Between Layers – Freezing the cake for a few minutes between layers helps set them properly.
2. Smooth Ganache – Stir well after microwaving for a silky consistency; add warm cream if too thick.
3. Keep the Crunch Fresh – Add the crispy topping just before serving to keep it crunchy.
4. Adjust Sweetness – Use dark chocolate or reduce sugar if you prefer less sweetness.
5. Neat Slices – Use a warm knife for clean, even cuts.
6. Flavor Variations – Try adding coffee, peanut butter, or a pinch of sea salt for a twist.
7. Easy Serving – Make mini versions in dessert cups for a fun, mess-free option.
storage tips for the Choco crunch cake
• Refrigeration: Store in an airtight container in the fridge for up to 3 days. The crunchy topping may soften over time.
• Freezing: Freeze the cake (without the crunchy topping) for up to 1 month. Thaw in the fridge before serving and add fresh Choco Crunch topping.
• Keeping the Crunch Fresh: Store the crunchy topping separately in an airtight container at room temperature and add just before serving.
More dessert recipes to make for
product links
the tray I used for this recipe

Choco crunch cake
Ingredients
First layer: chocolate cake
- Store-bought chocolate cake or use my homemade chocolate cake recipe the recipe liked ( in more recipes to make)
- 1 cup chocolate milk
Second layer: cream mix
- 150 g cream cheese
- 1 cup whipping cream
- 1/2 cup powdered sugar or 1/2 cup sweetened condensed milk
Third layer: chocolate ganache
- 150 g milk chocolate
- 3/4 cup whipping cream or 1 can thickened cream
Fourth layer: Choco crunch topping
- 2 cups crispy rice or cocoa crispy cereal
- 100 g chocolate melted
- ¼ cup unsweetened cocoa powder
Instructions
First Layer: Chocolate Cake
- Cut the cake into thin slices and arrange them in a tray.
- Pour the chocolate milk over the cake to soak it.
Second Layer: Cream Mix
- In a bowl, mix the softened cream cheese with powdered sugar (or sweetened condensed milk) until smooth and creamy.
- Add the cold whipping cream and beat until light and fluffy.
- Spread the cream mixture evenly over the soaked chocolate cake.
Third Layer: Chocolate Ganache
- Combine the milk chocolate and whipping cream in a microwave-safe bowl.
- Microwave for 1 minute, then stir until the chocolate is fully melted and smooth. The ganache should be thick yet pourable.
- Place the cake in the freezer for 5 minutes to firm up the cream layer.
- Remove from the freezer and pour the cooled ganache evenly over the cream layer. Spread it smoothly.
- Return the cake to the fridge for at least 2 hours to set.
Fourth and Final Layer: Choco Crunch Topping
- This layer is best added just before serving to keep it crunchy!
- In a container, combine the crispy rice cereal with melted chocolate. Close the container and shake well until the cereal is fully coated in chocolate.
- Open the container, add the cocoa powder, close it again, and shake until the cocoa powder evenly coats the crispy chocolate mixture.
- Just before serving, sprinkle the Choco Crunch topping over the cake for the perfect crispy finish.