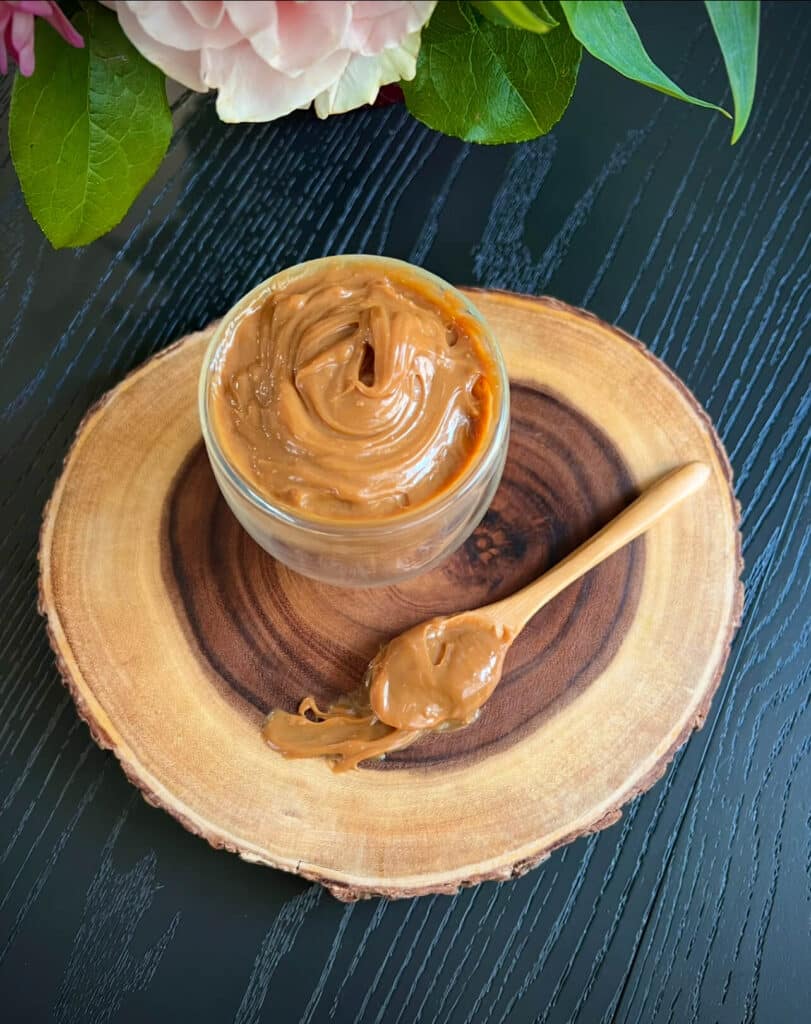
If you’ve never tried Homemade dulce de leche, you’re in for a treat! This rich, creamy caramel-like spread is incredibly easy to make with just one simple ingredient—a can of sweetened condensed milk. All it takes is a little time and a pressure cooker, and you’ll have a luscious, golden treat that tastes so much better than store-bought versions.
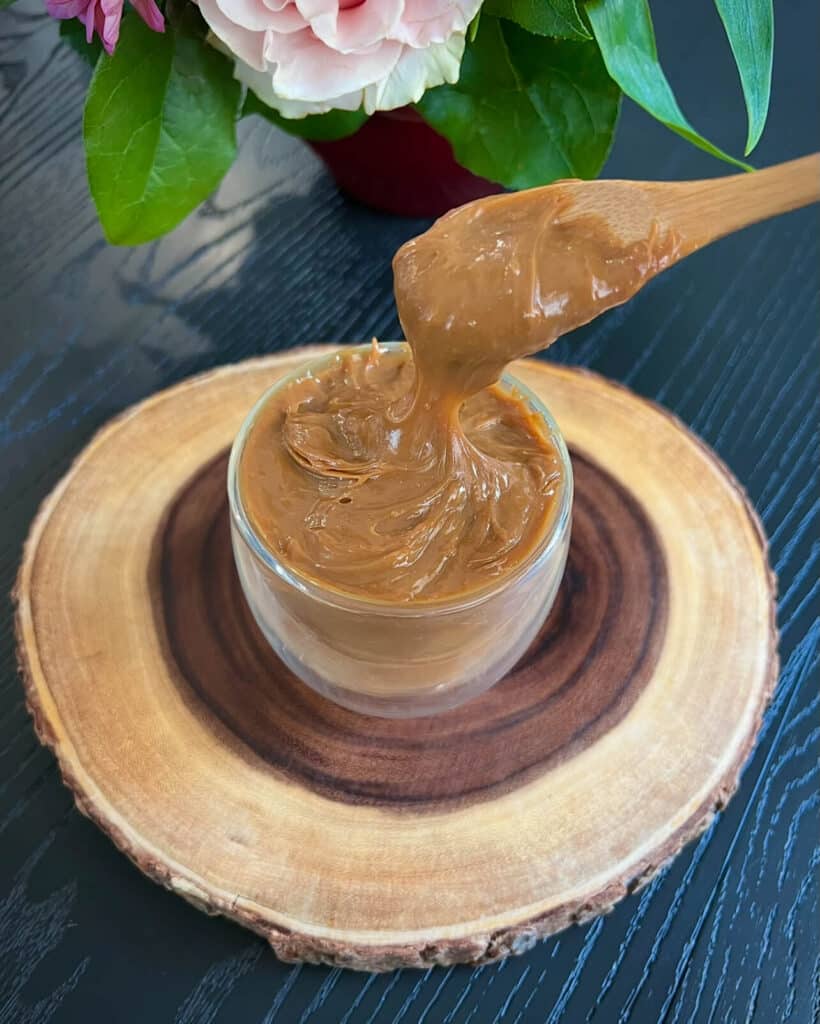
What I love most about homemade dulce de leche is how versatile it is. You can spread it on toast, swirl it into brownies, fill cookies or donuts, or even spoon it over ice cream. Honestly, I could eat it straight from the jar—it’s that good!
Best of all, once you make it at home, you’ll never want to go back to the packaged kind. So let’s get started!
what is Dulce de Leche?
Dulce de leche (Spanish for “sweet milk”) is a thick, caramel-like sauce made by slowly heating sweetened milk until it thickens and turns golden brown. While similar in taste to caramel, it’s creamier and has a deep, milky flavor.
How to make Dulce de Leche?
- Remove the label from the can of sweetened condensed milk.
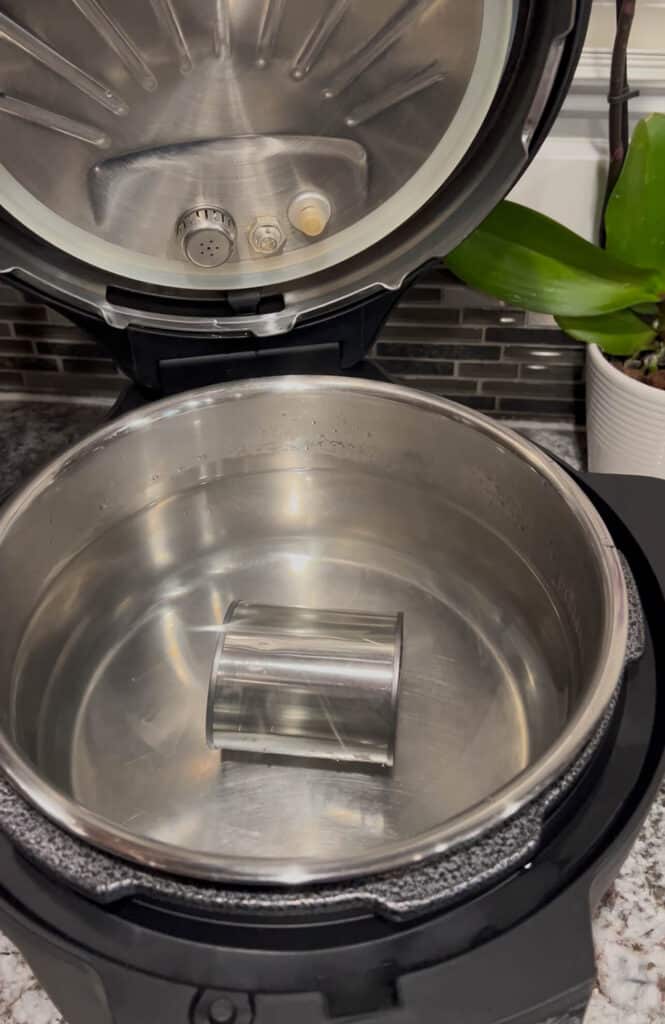
- Place the unopened can in a pressure cooker and cover it completely with water.
- Close the lid and pressure cook on high heat for 20 to 25 minutes, depending on your preferred thickness:
- For a thicker, richer consistency, cook for 25 minutes.
- For a softer, smoother texture, cook for 20 minutes.
- Let the pressure release naturally—don’t rush this step.
- Once it’s safe to open, use tongs to carefully remove the can (it will be very hot!).
- Let it cool completely before opening. You can place it on the counter or in a bowl of cold water to speed it up, but do not open it until fully cooled.
- Open the can and transfer the dulce de leche to a clean jar or container.
- Store in the fridge in an airtight container for up to 2 weeks.

Cream Caramel Spread Using Sweetened Condensed Milk in the Can
Method: Pressure Cooker
Time: 12 to 15 minutes on high pressure
Instructions:
- Remove the label from the can of sweetened condensed milk.
- Place the sealed can on a trivet or rack inside the pressure cooker.
- Add enough water to fully cover the can (at least 1 inch above).
- Pressure cook on high for 15 minutes.
- Let the pressure release naturally.
- Carefully remove the can with tongs and let it cool completely before opening.
This will give you a lighter, creamier caramel spread—softer than thick dulce de leche, with a custard-like texture, perfect for spreading or drizzling.
Important: Never open the can while it’s hot! Always let it cool fully to avoid pressure-related accidents.
Different Methods to make dulce de leche
Method 1: Pressure Cooker (Fastest & My Favorite)
Time: 20–25 minutes (plus cooling time)
Best for: Quick results with deep flavor and thick texture.
Instructions:
- Remove the label from the can of sweetened condensed milk.
- Place the unopened can in your pressure cooker and cover it completely with water.
- Seal the lid and cook on high pressure:
- 20 minutes for a soft, pourable dulce de leche.
- 25 minutes for a thicker, spreadable consistency.
- Let the pressure release naturally.
- Carefully remove the can using tongs and let it cool completely before opening.
Safety Note: Never open the can while it’s still hot—pressure build-up can be dangerous.
Method 2: Stovetop Simmering (Traditional Method)
Time: 2.5 to 3 hours
Best for: Those without a pressure cooker who prefer a hands-off method.
Instructions:
- Remove the label from the can.
- Place the unopened can in a large pot and cover it with water (at least 1–2 inches above the can).
- Bring to a boil, then reduce heat to a gentle simmer.
- Simmer for 2.5 to 3 hours, topping off with hot water as needed to keep the can submerged.
- Remove with tongs and cool completely before opening.
Pro Tip: Don’t let the pot dry out—always keep the can fully covered with water to avoid accidents.
Method 3: Oven-Baked (Open Can Method – Safest for Baking)
Time: 1.5 hours
Best for: Those who want to caramelize in the oven and control texture.
Instructions:
- Preheat oven to 425°F (220°C).
- Pour one can of sweetened condensed milk into a shallow baking dish (like a pie dish or glass container).
- Cover tightly with foil.
- Place the dish inside a larger baking pan and fill the larger pan halfway with hot water (this water bath prevents burning).
- Bake for 1.5 hours, stirring once or twice for even color.
- Remove from oven, whisk until smooth, and let cool before storing.
Why not bake the unopened can? It’s not safe to bake sealed cans. The oven’s dry heat can cause the can to overheat, risking a burst. Stick with the open-can oven method for safety.
storage tips
- Transfer cooled dulce de leche to a clean jar or airtight container.
- Store in the refrigerator for up to 2 weeks.
- For longer storage, freeze in a sealed container for up to 3 months.
How to Use Dulce de Leche?
You’ll be amazed at how versatile it is! Here are a few ideas:
- Spread on toast, pancakes, or waffles
- Fill donuts, churros, or sandwich cookies
- Drizzle over ice cream, brownies, or cheesecake
- Swirl into coffee, hot chocolate, or milkshakes
- Use as cake or tart filling or dessert cups
Frequently Asked Questions
Can I bake the sealed can in the oven?
No. Baking a sealed can in the oven is dangerous due to pressure build-up. Use the open-can oven method instead for safe, delicious results.
What’s the safest method?
The oven-baked open-can method is considered the safest, especially if you’re concerned about pressure cooking or boiling sealed cans.
Can I use low-fat sweetened condensed milk?
You can, but the texture and richness won’t be quite the same. Full-fat versions yield the best results.
Tips And Tricks
1. Always Remove the Label First
Paper labels can burn or break apart, leaving residue in your pot or pressure cooker. Peel them off completely before cooking.
2. Keep the Can Fully Submerged
When boiling or pressure cooking, always ensure the can is completely covered with water at all times. Top up with hot water if needed during the process.
3. Let the Can Cool Completely
Opening a hot can is dangerous due to built-up pressure. Never rush this step. Allow it to cool on the counter or in cold water, but only open it once it’s fully cooled.
4. Use Full-Fat Sweetened Condensed Milk
Low-fat versions can work, but the texture is thinner and less creamy. Full-fat yields the best flavor and consistency.
5. For an Even Color (Oven Method)
If you’re baking it in a dish, stir once halfway through for even browning and a smoother texture.
6. Don’t Overcook for Pourable SauceIf you want a thinner, drizzle-friendly dulce de leche, reduce the cooking time by 5 minutes. It will thicken as it cools.
7. Strain for Extra Smoothness
If you see lumps after opening or baking, whisk vigorously or strain through a fine mesh sieve for a silky finish.
8. Label and Date Your Jar
Homemade dulce de leche can last up to 2 weeks in the fridge. Label your jar so you know when you made it!
9. Freeze for Longer Storage
Dulce de leche freezes well in airtight containers for up to 3 months. Thaw overnight in the fridge and stir before using.
10. Experiment with Flavors
Once you’re comfortable with the basic recipe, try mixing in a pinch of sea salt, vanilla, or even cinnamon after it’s cooked for a fun twist!
More recipes to check
chocolate chip banana bread recipe
Pressure cooker link
Instant Pot Duo Crisp Ultimate Lid, 13-in-1 Air Fryer and Pressure Cooker Combo
Homemade Dulce de Leche
Ingredients
- 1 can sweetened condensed milk
Instructions
- Remove the label from the can of sweetened condensed milk.
- Place the unopened can in a pressure cooker and cover it completely with water.
- Close the lid and pressure cook on high heat for 20 to 25 minutes, depending on how thick you want your dulce de leche:
- For a thicker consistency, cook for 25 minutes.
- For a softer texture, cook for 20 minutes.
- Let the pressure release naturally.
- Once it’s safe to open the cooker, carefully remove the can with tongs (it will be hot!).
- Let the can cool completely before opening. You can place it on the counter or in cold water to speed up cooling—but do not open it until fully cooled.
- Once cooled, open the can and transfer the dulce de leche to a clean jar.
- Store it in the refrigerator in an airtight container for up to 2 weeks.