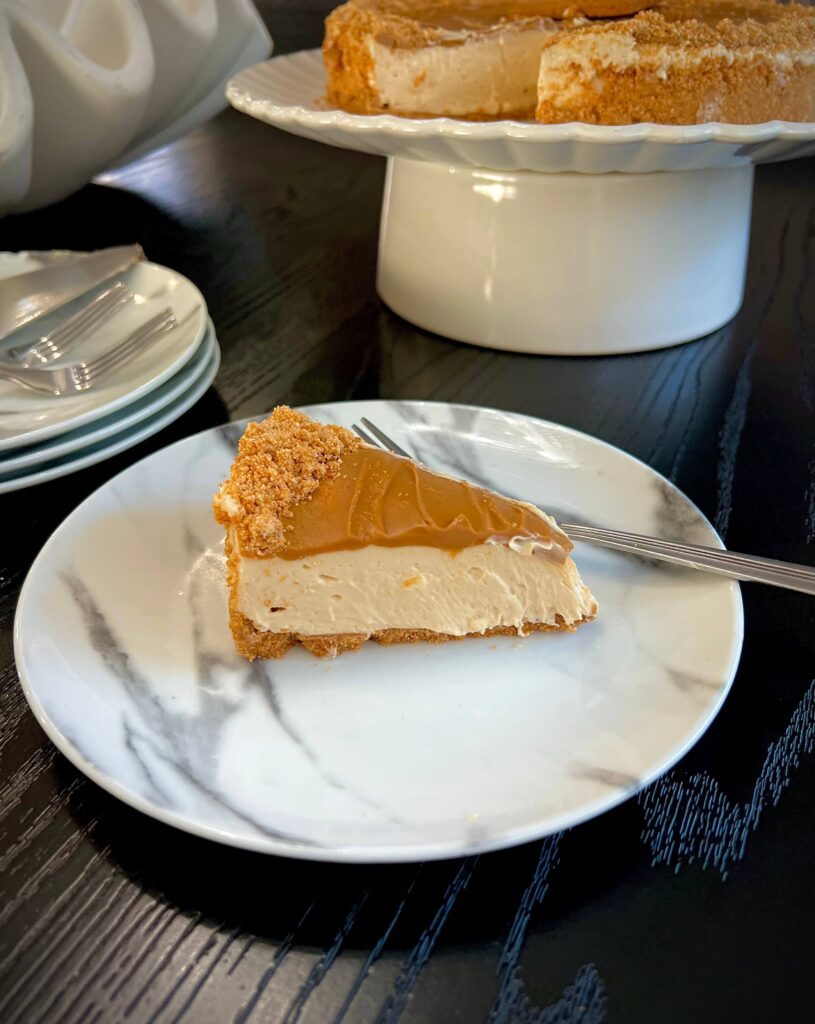
If you’re looking for a dessert that’s easy, elegant, and guaranteed to impress, this no-bake Biscoff cheesecake is exactly what you need. It’s rich, creamy, and loaded with that irresistible caramelized Biscoff flavor that everyone loves. The best part? You don’t even need to turn on the oven! This recipe comes together in about 20 minutes, and then the fridge does all the hard work for you.
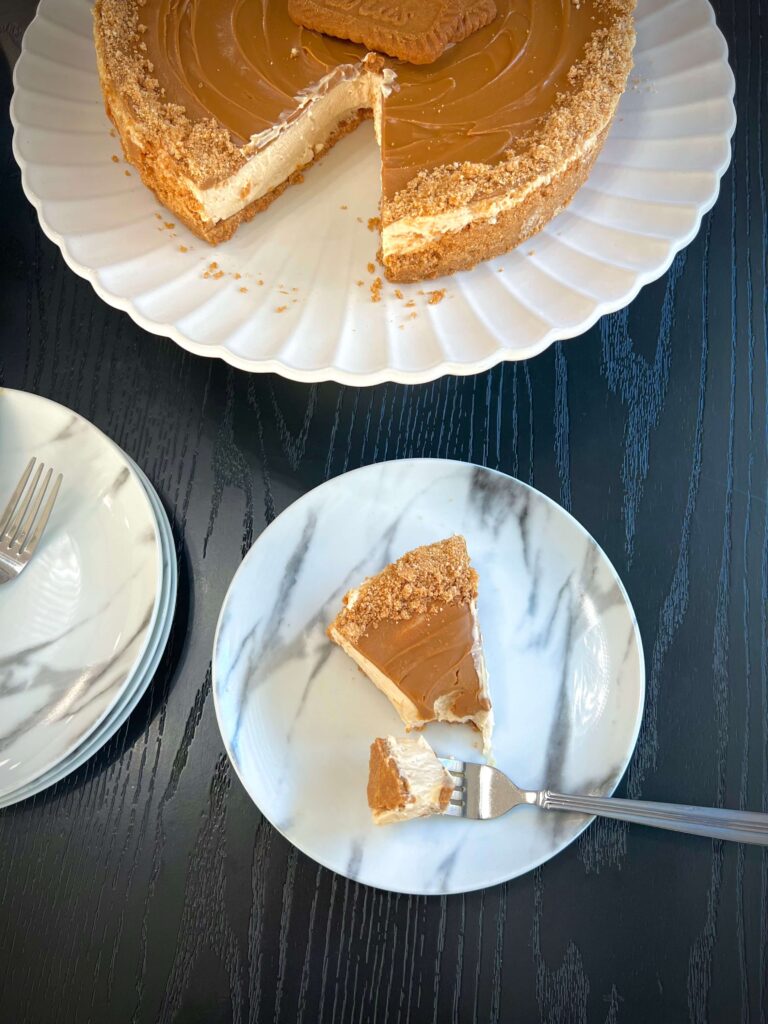
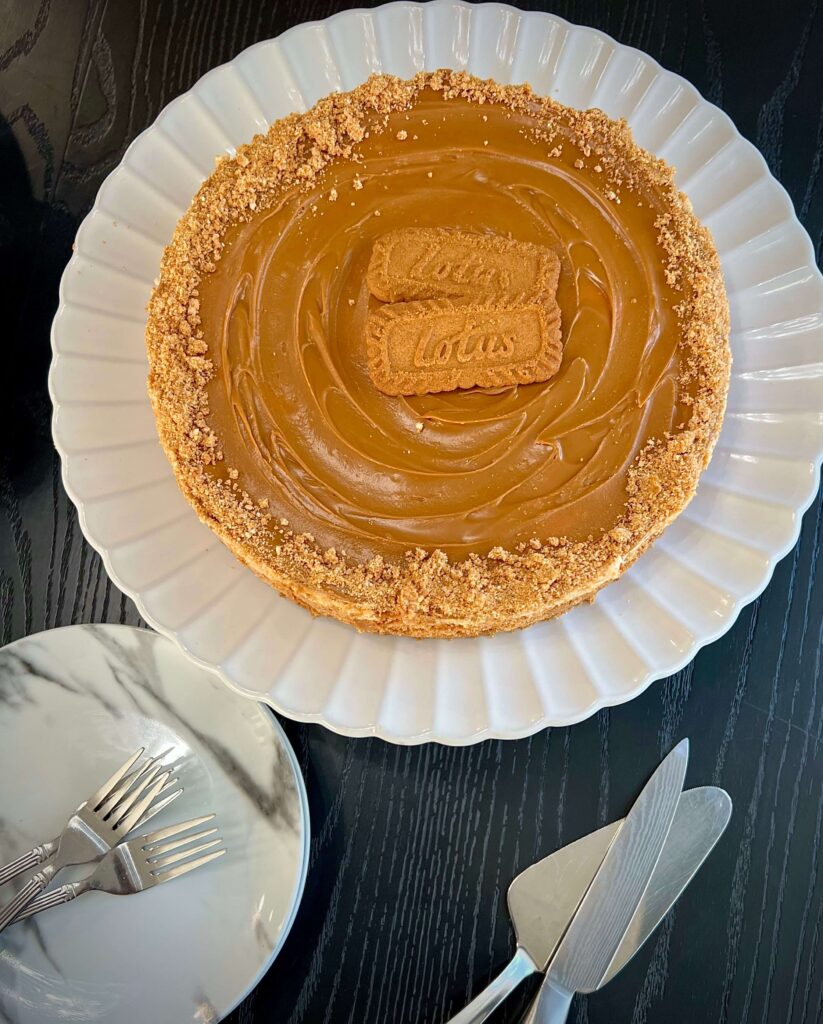
This No-bake Biscoff cheesecake is perfect for family gatherings, dinner parties, special occasions, or even as a thoughtful dessert to take to someone’s house. It looks beautiful on the table, slices like a dream, and tastes even better. The crunchy Biscoff cookie crust, smooth and creamy filling, and generous layer of Biscoff spread on top make every bite absolutely unforgettable.
I love this recipe because it’s foolproof and stress-free. Whether you’re an experienced baker or just starting out, you can make this with confidence and get amazing results every time. It’s one of those desserts that people always ask for the recipe after the first bite. If you’re a Biscoff lover, this is a must-try — and I promise it will quickly become one of your go-to no-bake desserts.
No-Bake Biscoff Cheesecake ingredients
The Biscoff cookies create a crunchy, caramelized base full of flavor.
The melted butter holds the crust together while adding richness.
The cream cheese gives the cheesecake its smooth, creamy, and luxurious texture.
The Biscoff spread adds a deep, warm caramelized flavor to both the filling and the topping.
The powdered sugar sweetens the cheesecake while keeping it light and silky.
The whipping cream makes the cheesecake airy, fluffy, and perfectly set without baking.
The crushed Biscoff cookies add a beautiful finishing touch with extra crunch and flavor.
How to make No-Bake Biscoff Cheesecake?
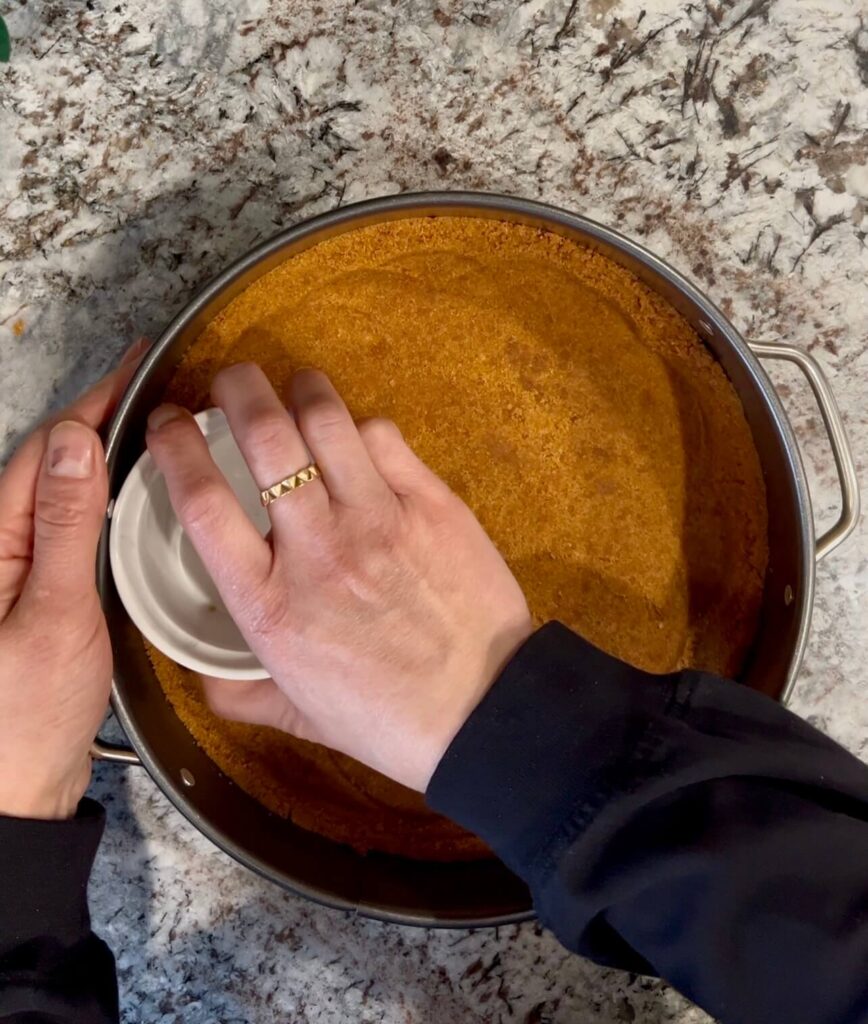
Step 1: Make the Crust
Start by crushing the Biscoff cookies in a food processor until they become fine crumbs, then mix them with the melted butter so the crust holds together and doesn’t crumble when slicing.
Line a springform pan with parchment paper and press the cookie mixture firmly and evenly into the bottom to create a strong, even base, then place it in the fridge to set while you prepare the filling.
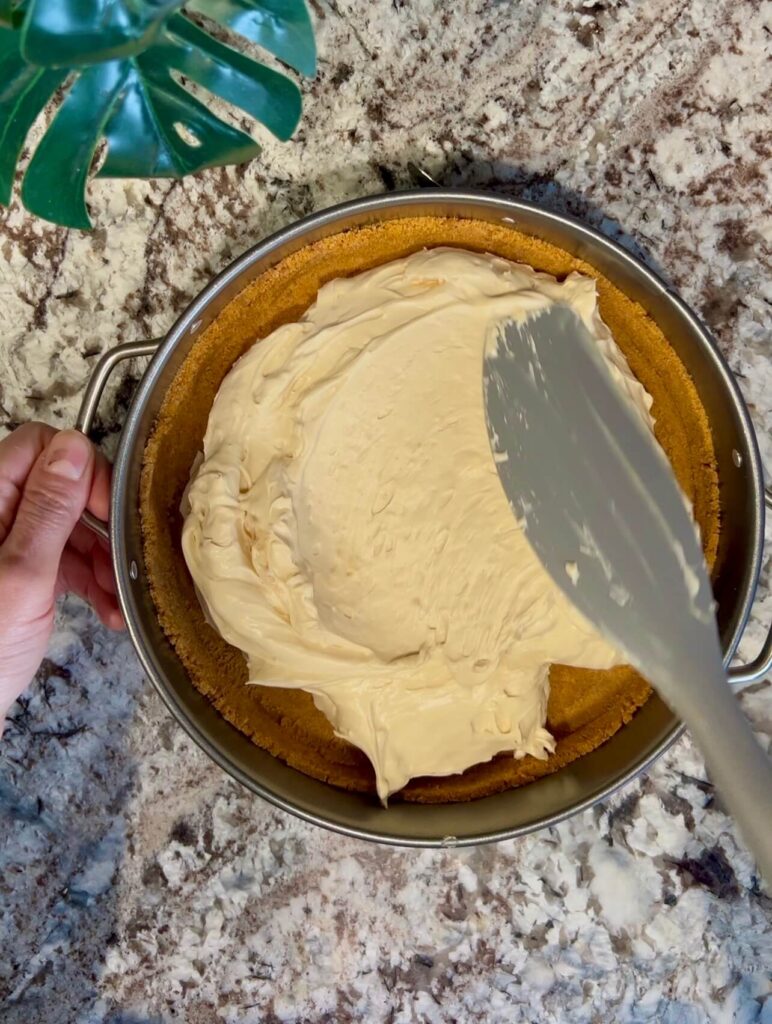
Step 2: Make the Filling
In a large bowl, mix the cream cheese, Biscoff spread, and powdered sugar until smooth and creamy to make sure the filling is lump-free and perfectly silky.
Add the whipping cream and whisk until stiff peaks form, because this is what makes the cheesecake light, fluffy, and able to set without baking.
Pour the filling over the prepared crust and smooth the top evenly so the cheesecake looks neat and sets evenly.
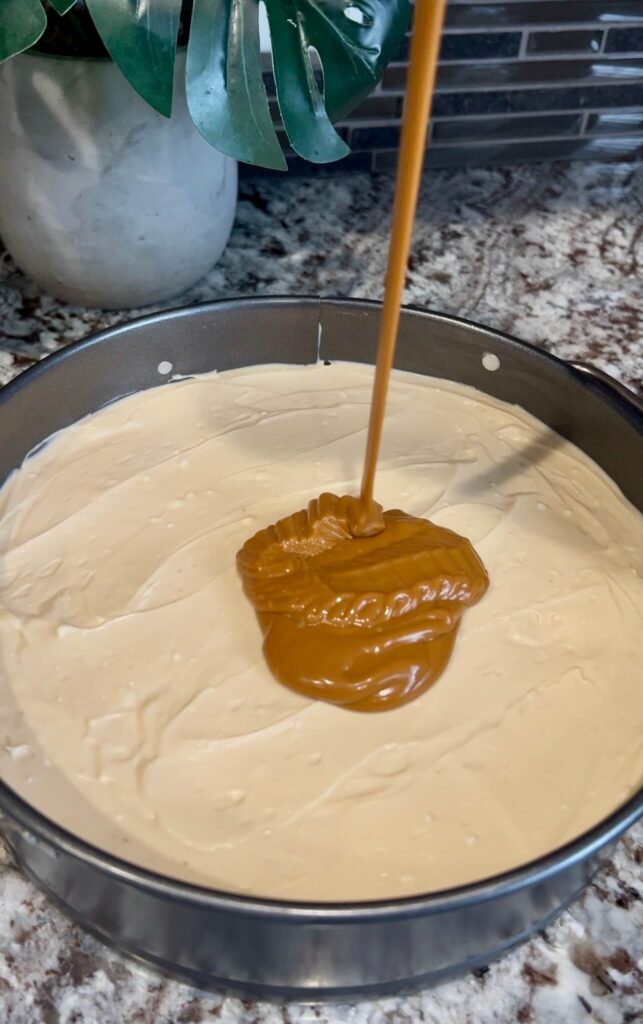
Step 3: Add the Topping
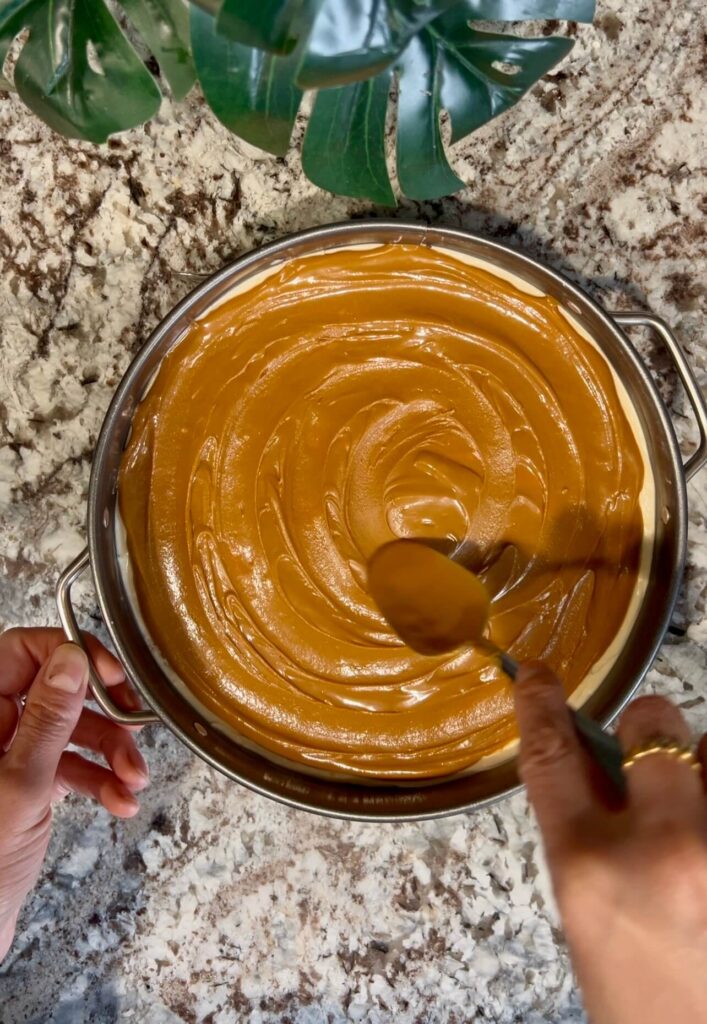
Warm the Biscoff spread for a few seconds until it becomes runny, then pour it over the cheesecake so it spreads easily and creates a smooth, glossy finish.
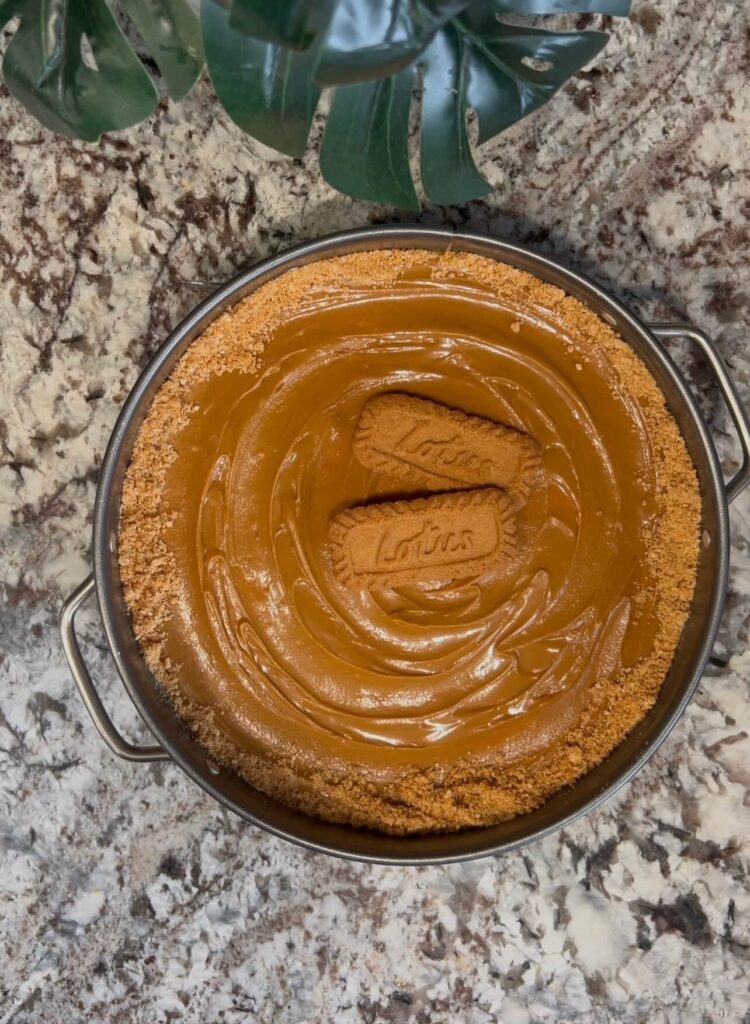
Decorate with crushed Biscoff cookies around the edges and add a cookie in the center for a beautiful, bakery-style look.
Step 4: Chill and Serve
Cover the cheesecake and refrigerate for at least 4–6 hours or overnight, because chilling is what allows it to fully set and become firm enough to slice.
Before serving, run a knife around the edges of the pan, open the springform pan, transfer the cheesecake to a serving plate, and carefully remove the parchment paper.
How to Store No-Bake Biscoff Cheesecake?
Store the cheesecake in an airtight container or cover it tightly with plastic wrap and keep it in the refrigerator for up to 4–5 days.
For best texture and flavor, always keep the cheesecake chilled and only take it out of the fridge right before serving.
If you want to store it for longer, you can freeze the cheesecake (with or without slices) by wrapping it well in plastic wrap and then in foil, and keep it in the freezer for up to 1 month.
To serve from frozen, transfer the cheesecake to the fridge and let it thaw overnight before slicing and serving.
Super Easy Cheesecake Varieties
- Classic No-Bake Cheesecake
Smooth cream cheese filling with a simple graham cracker or cookie crust. Perfect for beginners. - Chocolate Cheesecake
Add melted chocolate to your cream cheese mixture for a rich, fudgy version. Top with chocolate shavings or drizzle. - Strawberry Cheesecake
Mix in fresh or pureed strawberries into the filling, or make a strawberry topping for a fruity twist. - Lemon Cheesecake
Add lemon zest and a little juice to the cream cheese filling for a refreshing, tangy flavor. - Biscoff Cheesecake
The one you’re already making! Caramelized cookie flavor in both the crust and filling. - Oreo Cheesecake
Crush Oreos for the crust and fold them into the filling for a cookies-and-cream treat. - Mango Cheesecake
Blend fresh mango into the cream cheese mixture for a tropical, fruity version. - Peanut Butter Cheesecake
Mix in smooth peanut butter with cream cheese for a creamy, nutty delight. Top with chocolate ganache for extra indulgence. - Matcha Green Tea Cheesecake
Add matcha powder to the filling for a lightly sweet, earthy cheesecake with a gorgeous green color. - Salted Caramel Cheesecake
Top a classic cheesecake with salted caramel sauce for a sweet-and-salty flavor combination.
Frequently asked questions
1. Can I use a different cookie for the crust?
Yes! You can use graham crackers, digestive biscuits, Oreos, or any cookie you love. Biscoff just gives it that unique caramelized flavor.
2. Do I have to use a springform pan?
A springform pan makes it easiest to remove the cheesecake without breaking it, but you can also use a regular pan lined with parchment paper.
3. Can I make it ahead of time?
Absolutely! This cheesecake tastes even better after chilling overnight. Just cover it tightly and refrigerate until ready to serve.
4. How long does it need to chill?
For best results, chill for at least 4–6 hours. Overnight is ideal for a firm, sliceable cheesecake.
5. Can I freeze it?
Yes! Wrap it tightly in plastic wrap and foil, and freeze for up to 1 month. Thaw in the fridge overnight before serving.
6. Can I make it smaller or in cups?
Definitely! This recipe works for mini cheesecakes or parfait-style servings — just adjust the amount of crust and filling.
7. Can I make it dairy-free or vegan?
You can try using vegan cream cheese and coconut cream instead of whipping cream. The texture may be slightly different but still delicious.
8. Why is my cheesecake not firm?
Make sure you whisk the cream to stiff peaks and chill the cheesecake long enough. Using full-fat cream cheese also helps it set better.
9. Can I add flavors or toppings?
Yes! You can add chocolate, fruit puree, caramel, nuts, or even cookie crumbs to make your cheesecake unique.
Tips and Tricks
- Use full-fat cream cheese – it gives the cheesecake a rich, creamy texture and helps it set properly.
- Chill the crust first – placing the pressed cookie crust in the fridge for 10–15 minutes before adding the filling prevents it from crumbling.
- Whip the cream properly – make sure to whisk the whipping cream to stiff peaks for a light, airy, and fluffy cheesecake.
- Microwave Biscoff spread carefully – just a few seconds until runny, so it spreads easily on top without melting the filling.
- Smooth the filling gently – use a spatula or the back of a spoon to create an even top for a professional look.
- Run a knife around the edges before releasing the pan – this prevents the cheesecake from sticking and keeps the sides neat.
- Decorate at the last minute – adding crushed Biscoff cookies or a cookie on top just before serving keeps them crunchy.
- Make ahead for convenience – this cheesecake tastes even better after chilling overnight, so plan ahead for events or gatherings.
- Slice cleanly – dip your knife in hot water and wipe between slices for smooth, perfect pieces.
- Experiment with flavors – try adding chocolate, caramel, fruit purees, or different cookies to make your cheesecake unique.
More cheesecake recipes to try
No-bake cheesecake with blueberry sauce
product links
10In Glass Bottom Springform Pan
6PCS Springform Pan Round Non Stick Cheesecake Pan

No-Bake Biscoff Cheesecake
Ingredients
Crust
- 250 g Biscoff cookies
- 1/3 cup melted butter
Filling
- 2 blocks cream cheese 450g, softened
- 1/4 cup Biscoff spread
- 1 cup powdered sugar
- 1 cup whipping cream
Topping
- About 1 cup Biscoff spread
- Crushed Biscoff cookies
Instructions
- Add the Biscoff cookies to a food processor and crush until fine. Add the melted butter and mix until well combined.
- Line a springform pan with parchment paper. Add the cookie mixture, spread it evenly, and press it down firmly to form the crust.
- In a bowl, add the cream cheese, Biscoff spread, and powdered sugar. Mix until smooth and fully combined.
- Add the whipping cream and whisk until stiff peaks form and the mixture is thick and creamy.
- Pour the cheesecake filling over the crust and smooth the top evenly.
- Microwave the Biscoff spread for a few seconds until runny, then pour it over the cheesecake and spread evenly.
- Decorate with crushed Biscoff cookies around the edges and place a cookie in the center (optional).
- Cover the cheesecake and refrigerate for at least 4–6 hours (or overnight) before serving.
- Run a knife around the edge of the pan before opening the springform to prevent sticking.
- Open the pan, slide the cheesecake onto a serving plate, and gently remove the parchment paper.
Notes
- For best results, use room temperature cream cheese so the filling mixes smoothly.
- Full-fat cream cheese and whipping cream give the creamiest texture.
- Make sure to chill the cheesecake long enough (4–6 hours or overnight) for it to set properly.
- You can adjust sweetness by adding a little more or less powdered sugar depending on your taste.
- This recipe works well for mini cheesecakes or cheesecake cups — just reduce the amount of crust and filling.
- Store leftovers in an airtight container in the fridge for up to 4–5 days.
- Freezing is possible; wrap tightly in plastic wrap and foil, thaw overnight in the fridge before serving.