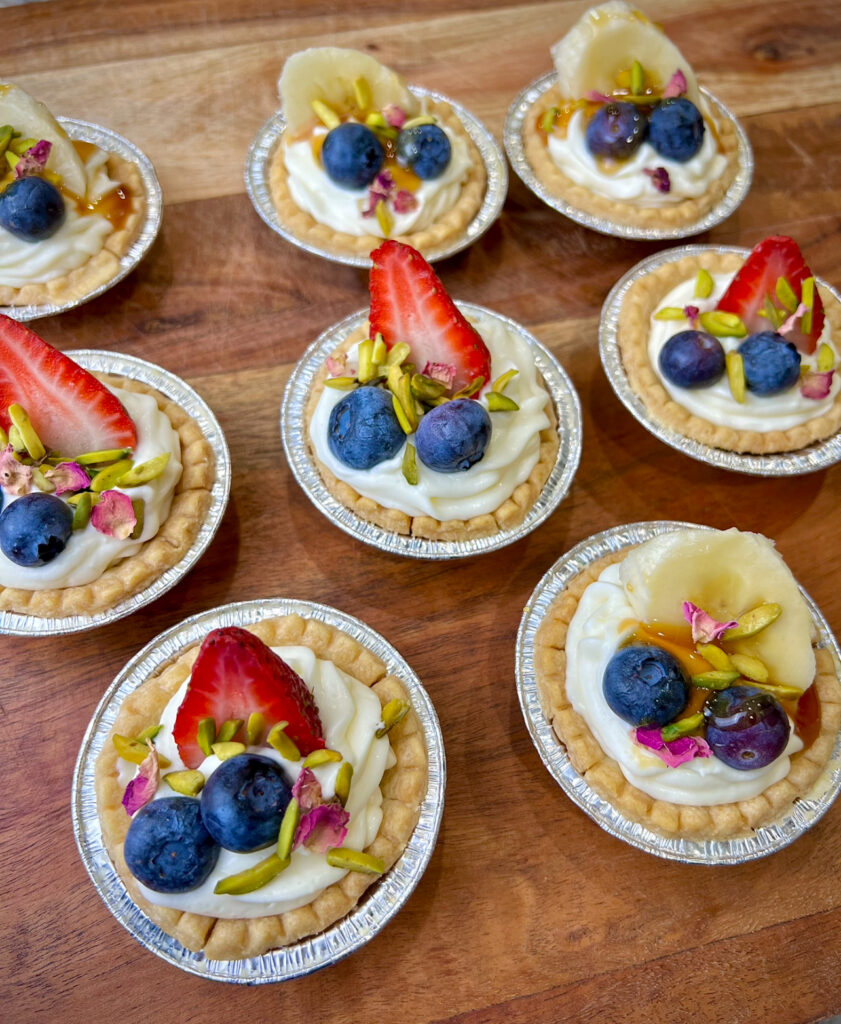
Mini Cheesecake Tarts are a delightful, individual-sized version of classic cheesecake, offering all the creamy, tangy goodness of the traditional dessert, but in a convenient and beautifully presented form. They’re perfect for parties, gatherings, or any time you want to indulge in a sweet treat without committing to an entire cheesecake.
Whether you’re hosting a dinner party or bringing a dish to a potluck, these tarts are sure to be a hit. They’re also versatile, allowing for endless topping options. Fresh berries, a drizzle of caramel, or even a sprinkle of chopped nuts can elevate them to suit any season or theme. You can easily personalize these mini cheesecakes to reflect the mood or flavor profile you’re aiming for, while still keeping them wonderfully simple and easy to prepare.
How I Learned to Make These Mini Cheesecake tarts
I was inspired to create these cheesecake tarts after trying the irresistible cheesecake baklava cups—a delightful bite-sized treat that combines the richness of cheesecake with the crispy, flaky texture of baklava. These cheesecake tarts are the perfect fusion of creamy and crunchy, offering a unique twist on classic cheesecake. Just like the baklava cups, they are an ideal choice for any occasion, whether it’s a family gathering, a holiday feast, or a celebration with friends.
Mini Tarts
I use store-bought mini tart shells for convenience, but you can certainly opt for homemade tart shells if you prefer. However, store-bought shells are a great choice if you’re looking for a quicker, hassle-free dessert that still delivers a delicious result.
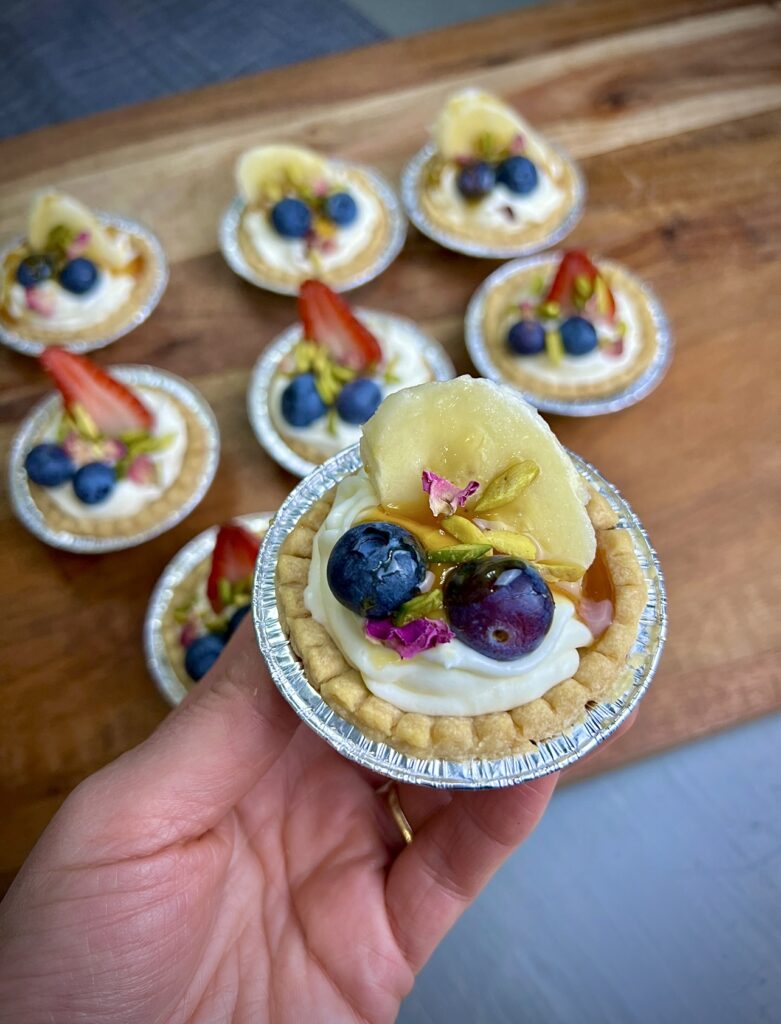
Ingredients for cheesecake tart :
Mini Tart Shells (Pre-made or Homemade)
These serve as the base of your tarts. You can use store-bought mini tart shells for convenience, or make your own homemade shells for a more personal touch. Either way, they provide a crisp, buttery foundation for the creamy cheesecake filling.
Heavy Whipping Cream is used to create a light, airy texture for the cheesecake filling. When whipped, it adds volume and smoothness, making the filling rich and creamy, while still keeping it fluffy.
Sweetened Condensed Milk brings sweetness and a smooth, thick consistency to the filling. By dividing it, you add half to the cream cheese and the other half to the whipped cream, balancing the texture and sweetness of the filling.
Cream Cheese (Softened) is the main ingredient in the cheesecake filling. When softened, it blends smoothly with the other ingredients, giving the filling its rich, tangy flavor and creamy consistency.
Fresh Fruit (Berries, Kiwi, etc.) makes for a vibrant and refreshing topping. Berries, kiwi, and other fruits add natural sweetness and a pop of color, balancing the richness of the cheesecake filling.
Caramel Sauce (Store-bought or Homemade) adds a rich, buttery sweetness to the tarts. You can use store-bought caramel sauce for convenience, or make your own for a homemade touch. Either way, it enhances the flavor and adds a decadent finishing touch.
Prepare cheesecake tarts
1. Prepare the Tart Shells:
Preheat your oven to 375°F (190°C).
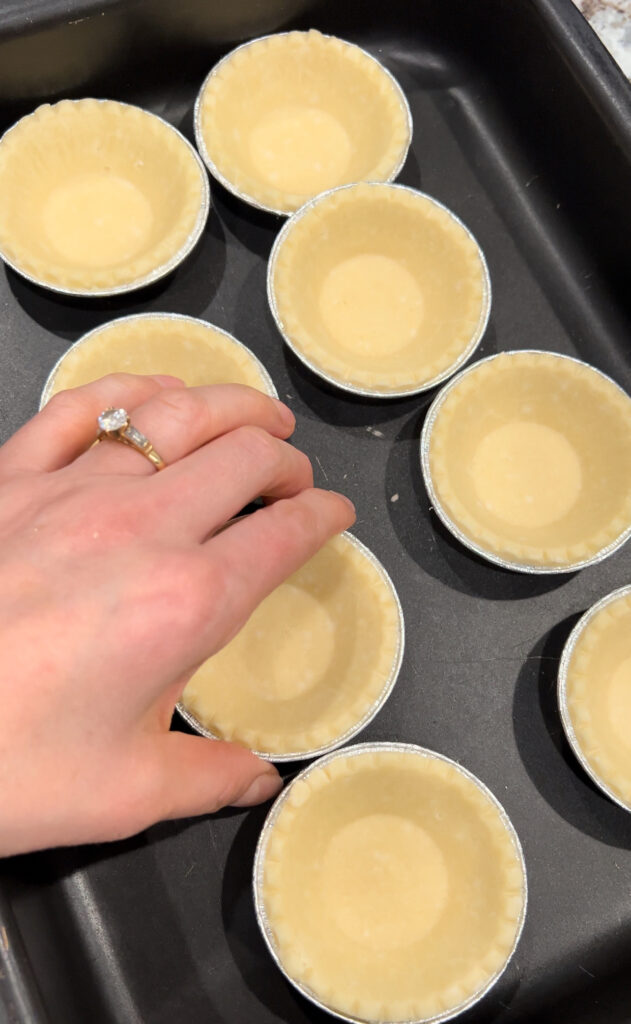
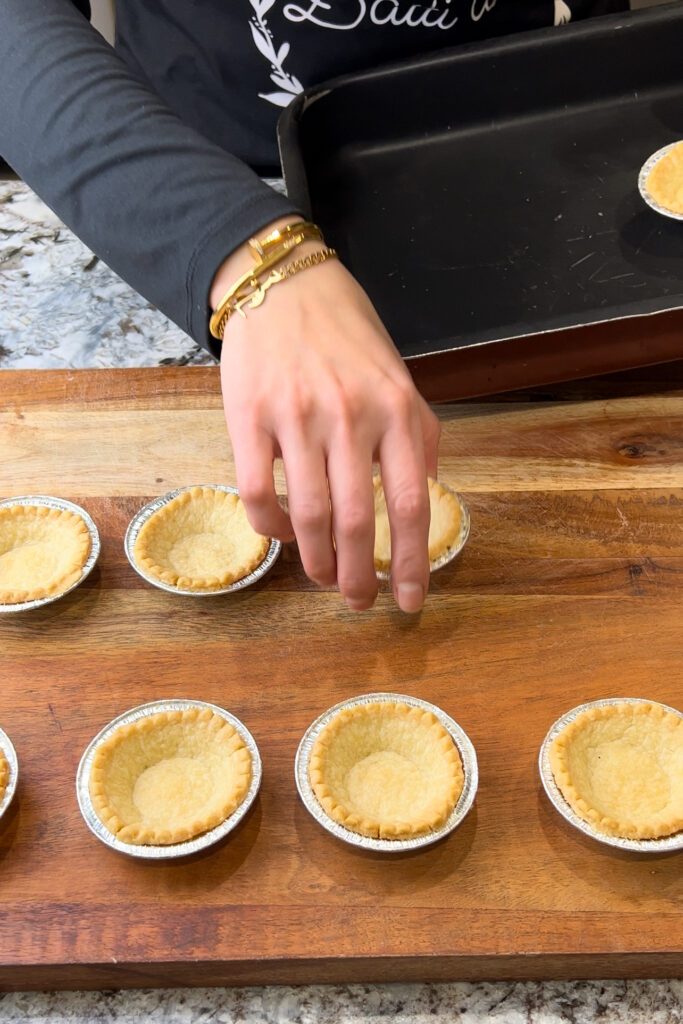
If you’re using unbaked mini tart shells, follow the instructions on the package to bake them. Most store-bought mini tart shells take about 10-15 minutes to bake. Bake them until golden and crispy, then let them cool completely.
If your tart shells are already pre-baked, simply arrange them on a baking sheet and set them aside.
2. Make the No-Bake Cheesecake Filling:
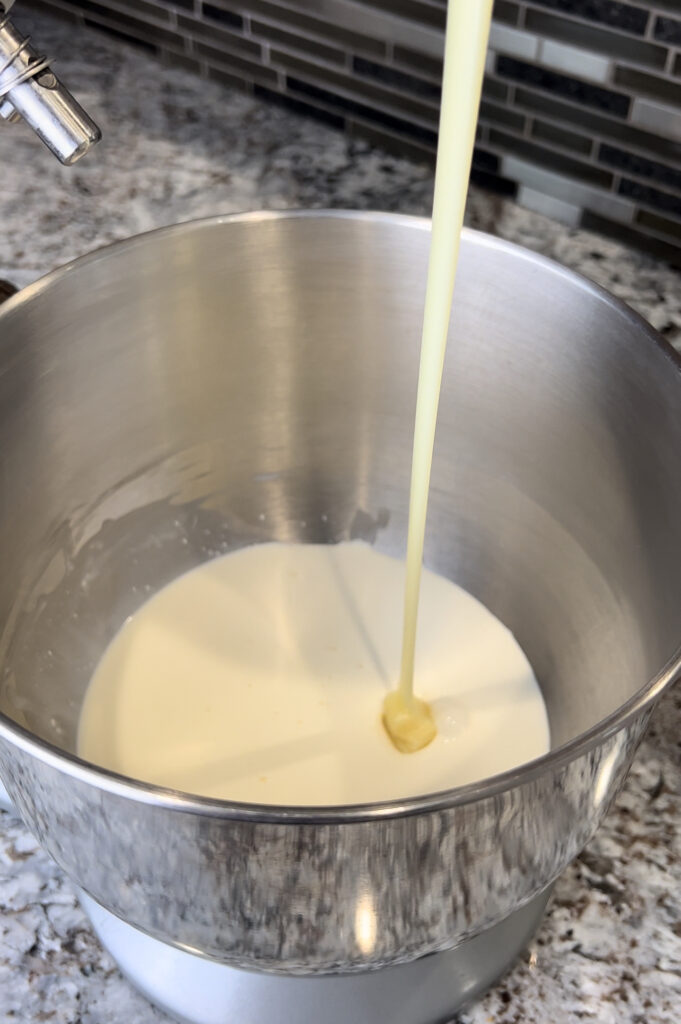
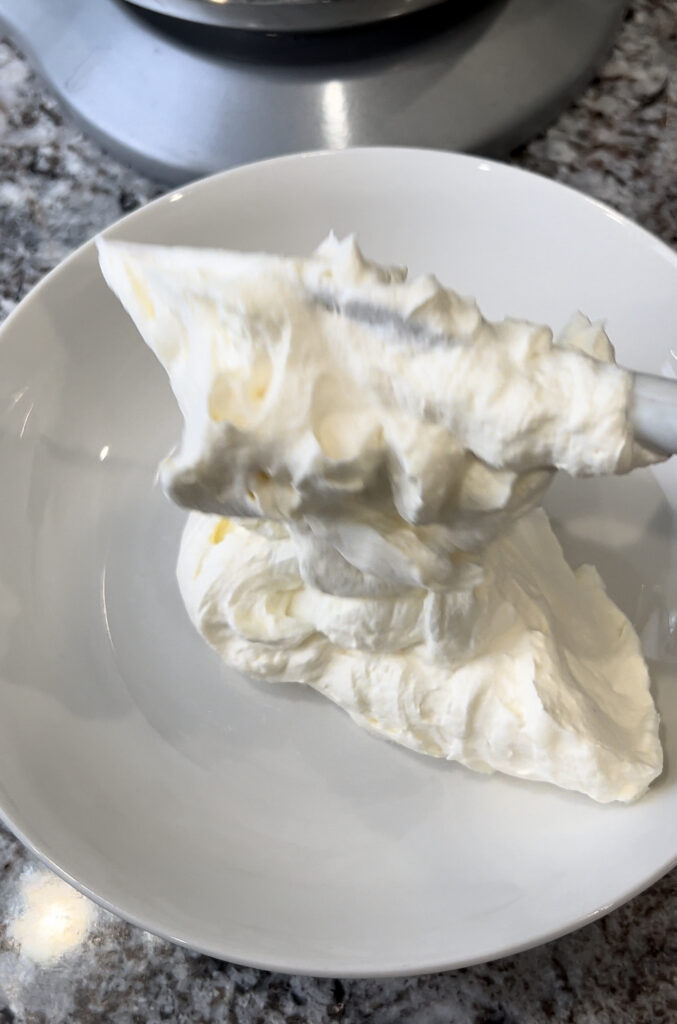
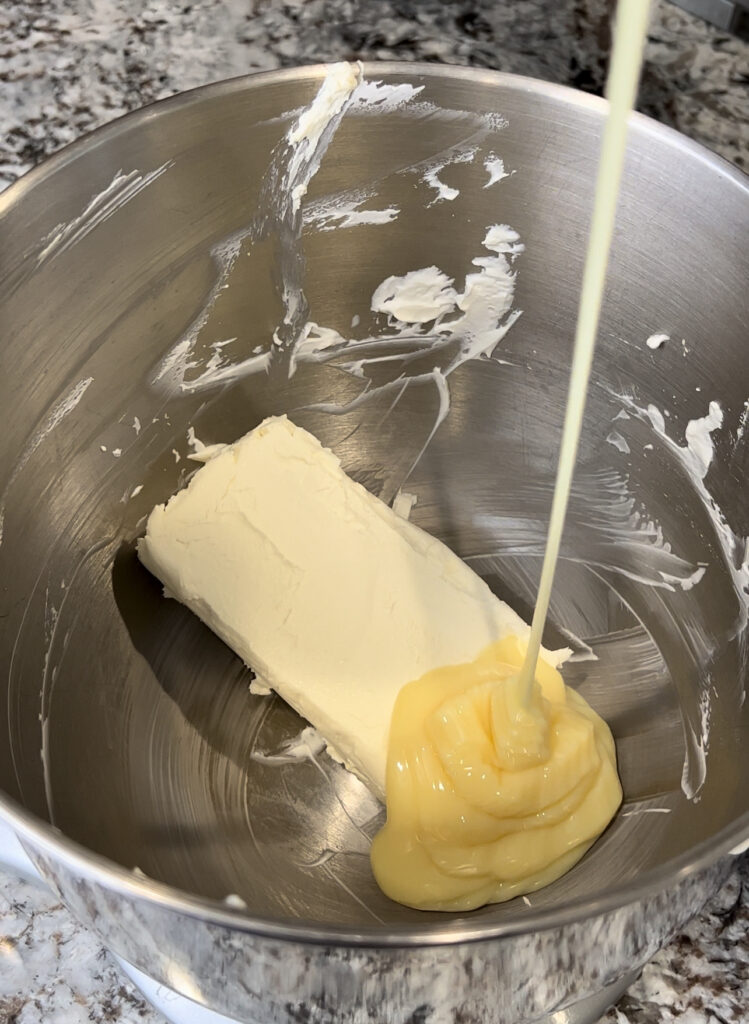
In a large mixing bowl, whisk the heavy whipping cream until soft peaks form (about 3-5 minutes with an electric mixer on medium speed). In a separate bowl, whisk the cream cheese and half of the sweetened condensed milk until smooth and creamy.
Gradually add the remaining condensed milk and vanilla extract, mixing until the filling becomes smooth and well-combined.
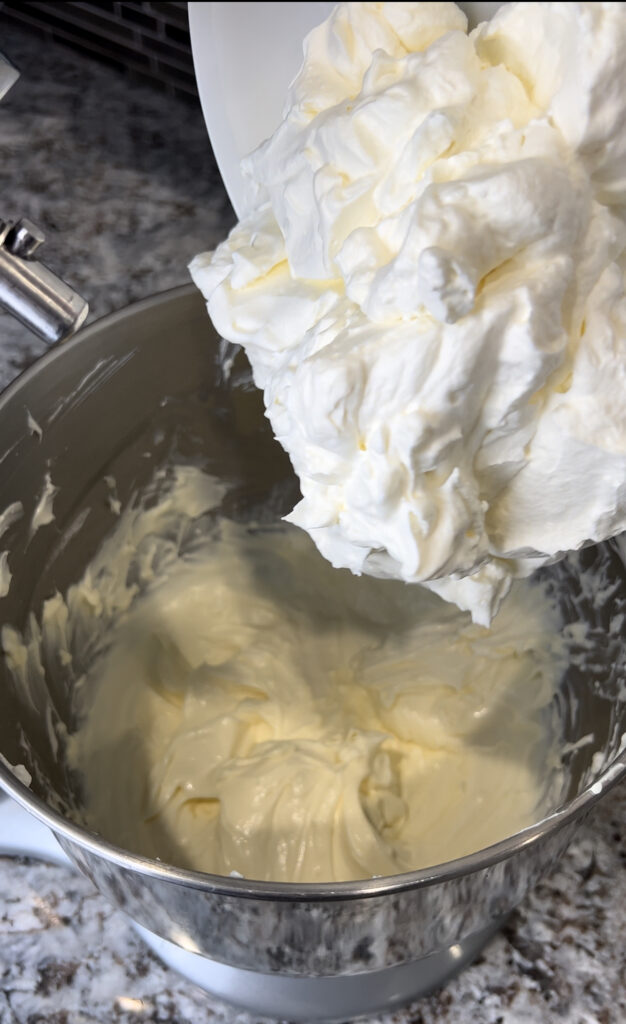
Fold in the whipped cream gently with a spatula until the mixture is fully combined, but be careful not to deflate the whipped cream.
3. Assemble the Mini Cheesecake Tarts:
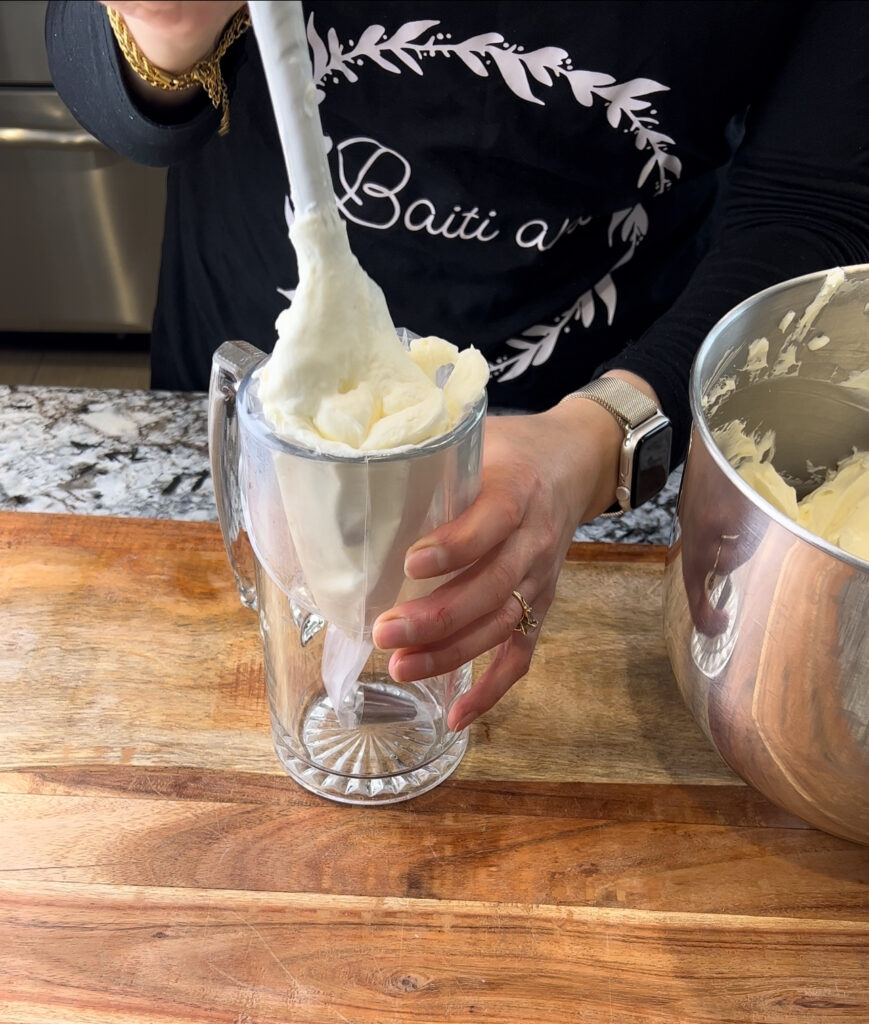
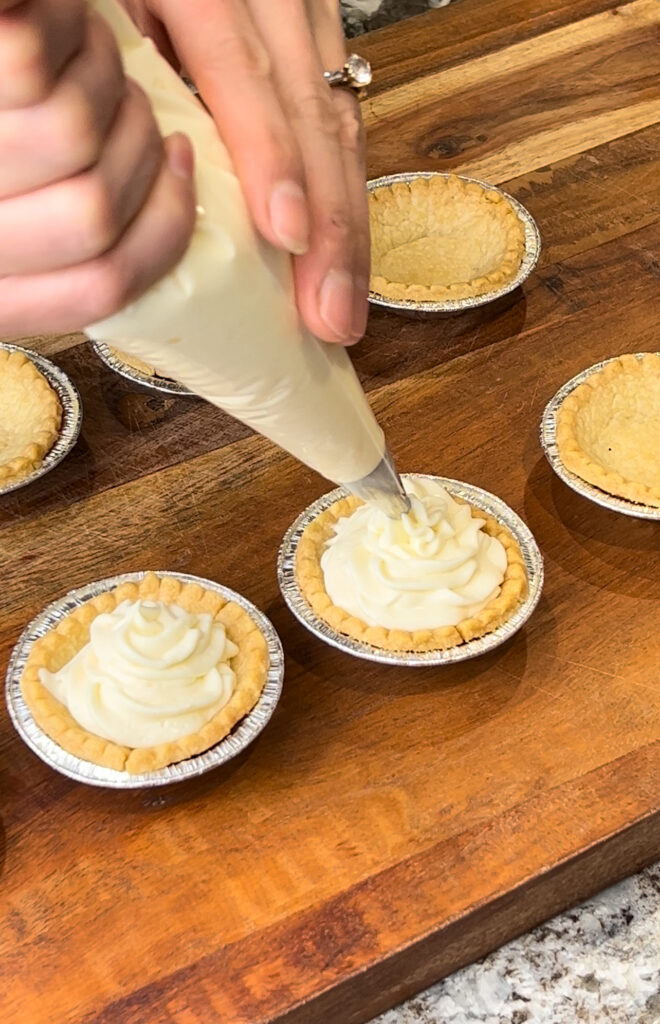
Once the tart shells have cooled completely, spoon the cheesecake filling into each mini tart shell. You can also pipe the filling into the shells using a piping bag for a more decorative look.
Smooth the tops with a spatula or the back of a spoon to make them even.
4. Chill the Tarts:
Place the filled mini cheesecake tarts in the fridge and let them chill for at least 2-3 hours, or until the cheesecake filling is firm and set. For best results, leave them in the fridge overnight.
5. Top with Fresh Fruit and Serve:
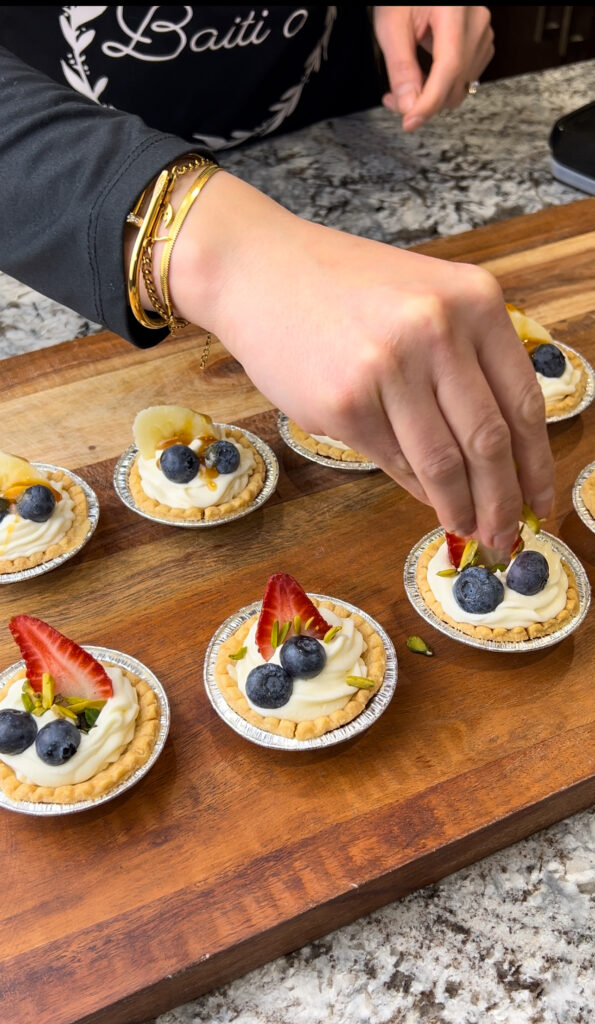
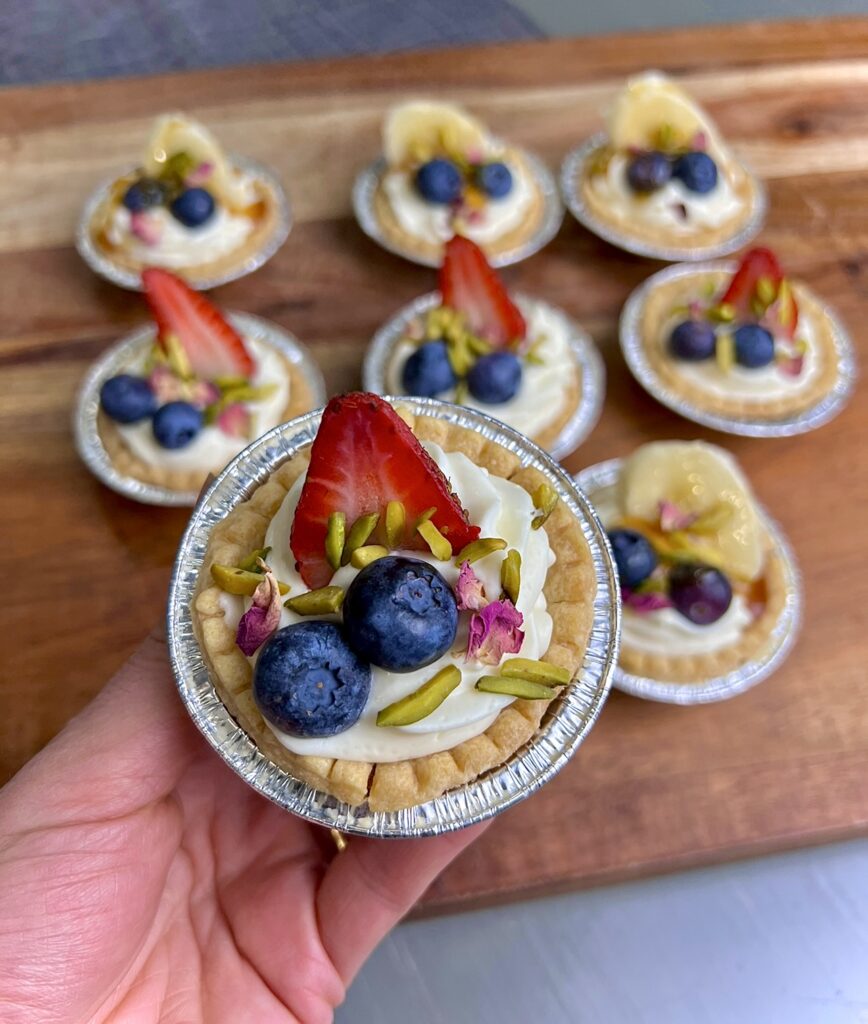
Before serving, top each tart with fresh fruit like berries, kiwi slices, or any seasonal fruit of your choice.
You’ll Love this No-Bake Cheesecake Tarts:
1. No Baking Required: Perfect for when you want a delicious cheesecake without the hassle of turning on the oven, especially in hot weather.
2. Light Yet Decadent: The creamy filling is rich, but the chilled texture keeps it light and refreshing, making these tarts a go-to treat for almost any occasion.
3. Fuss-Free: No complicated steps—just simple ingredients, a bit of mixing, and some chilling time. It’s a fun dessert that even beginners can easily master.
4. Personalized: Whether you like classic berry toppings, a chocolate twist, or a citrusy finish, no-bake cheesecake tarts let you play with flavors and decorations to match your taste or season.
Why These Ingredients Work Together:
Each ingredient serves a specific role in achieving the ultimate cheesecake tart. The store-bought tart shells provide a crisp, buttery foundation. The combination of heavy cream and cream cheese delivers the signature creamy texture and rich flavor of cheesecake. Sweetened condensed milk brings just the right amount of sweetness to balance the tanginess of the cream cheese, while vanilla extract enhances the depth of flavor. Finally, the fresh fruit adds a refreshing contrast and color, and optional drizzles of caramel or chocolate make these tarts feel indulgent and festive. Together, they create a balanced, flavorful, and visually stunning dessert.
Pro Tip
This recipe can be prepared ahead of time even the day before,Also, you can cook the tarts and make the cheesecake filling the day before then fill the same day of serving. For the best results is to place in the fridge for couple of hours before serving will taste way better.

