If you’re craving something sweet, creamy, and irresistibly good, this Biscoff ice cream is about to become your new favorite treat! The best part? It’s incredibly easy to make, requires no ice cream machine, and comes together with just four simple ingredients you probably already have in your pantry.
To begin with, the base is rich and fluffy thanks to whipping cream and sweetened condensed milk. Then, it gets a warm, caramelized flavor from crushed Biscoff cookies and creamy Biscoff spread. Finally, with just a quick whip and a few hours in the freezer, you’ll have a velvety, melt-in-your-mouth dessert that tastes like it came straight from an ice cream shop.
Whether you’re making it for a family gathering, a weekend treat, or just because you deserve something sweet, this recipe is as fuss-free as it gets. So let’s dive into the easiest homemade ice cream you’ll ever make—no fancy equipment, no long prep time, just pure Biscoff bliss in every bite.
Biscoff Ice Cream Ingredients
Whipping Cream:
This is the base of your ice cream. Once whipped, it gives the mixture that light, airy texture we all love in a good scoop of ice cream. It adds richness and volume, creating that velvety, melt-in-your-mouth feel.
Sweetened Condensed Milk:
Sweet, thick, and smooth—this ingredient brings the sweetness and creaminess without the need for churning. It helps bind everything together while giving the ice cream a soft, scoopable consistency straight from the freezer.
Also known as cookie butter, this is where the magic happens. Biscoff spread brings a warm, spiced caramel flavor that pairs perfectly with the creamy base. It’s rich, smooth, and adds that signature Biscoff taste that makes this ice cream irresistible.
These crunchy bits are folded right into the mix and sprinkled on top for texture and flavor in every bite. They add a little crunch, a lot of flavor, and make each spoonful a treat. Plus, they give that signature look that makes the ice cream instantly recognizable!
How to make Biscoff Ice Cream?
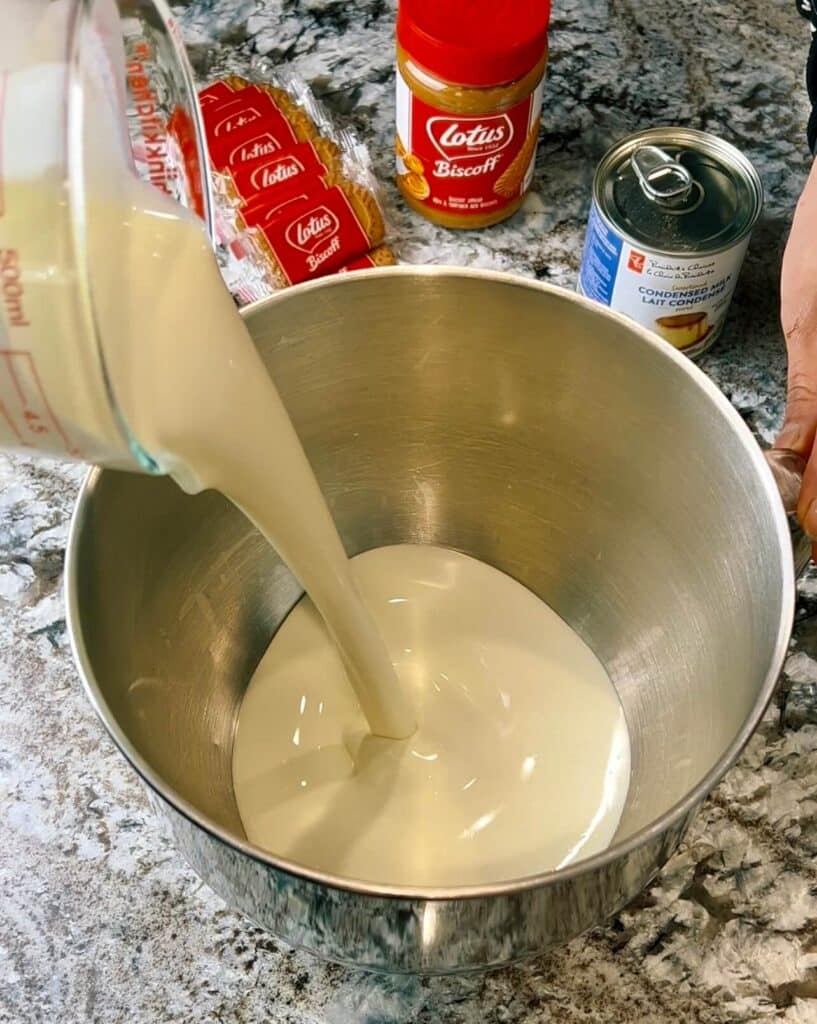
Step 1: Combine the base
In a large mixing bowl, add the whipping cream, sweetened condensed milk, and Biscoff spread.
Step 2: Whip the mixture
Using a hand or stand mixer, whip the ingredients together until the mixture becomes thick, fluffy, and holds soft peaks.
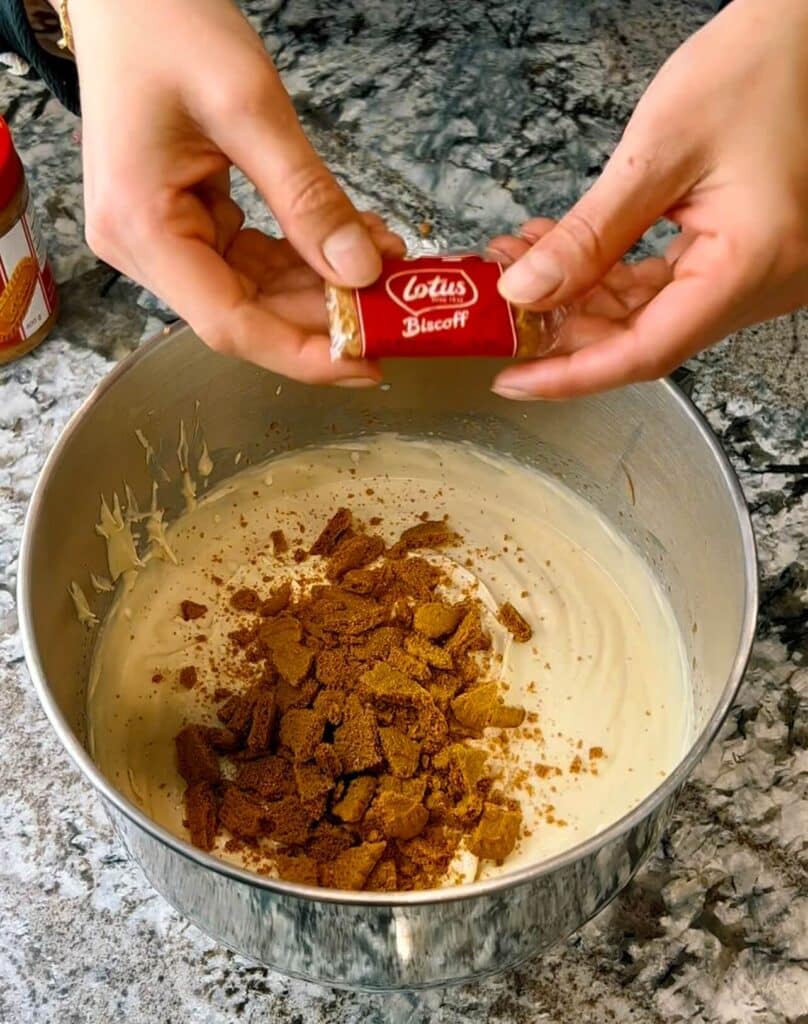
Step 3: Fold in the cookies
Crush the Biscoff cookies, then gently fold them into the whipped mixture using a spatula. Be careful not to deflate the mixture too much.
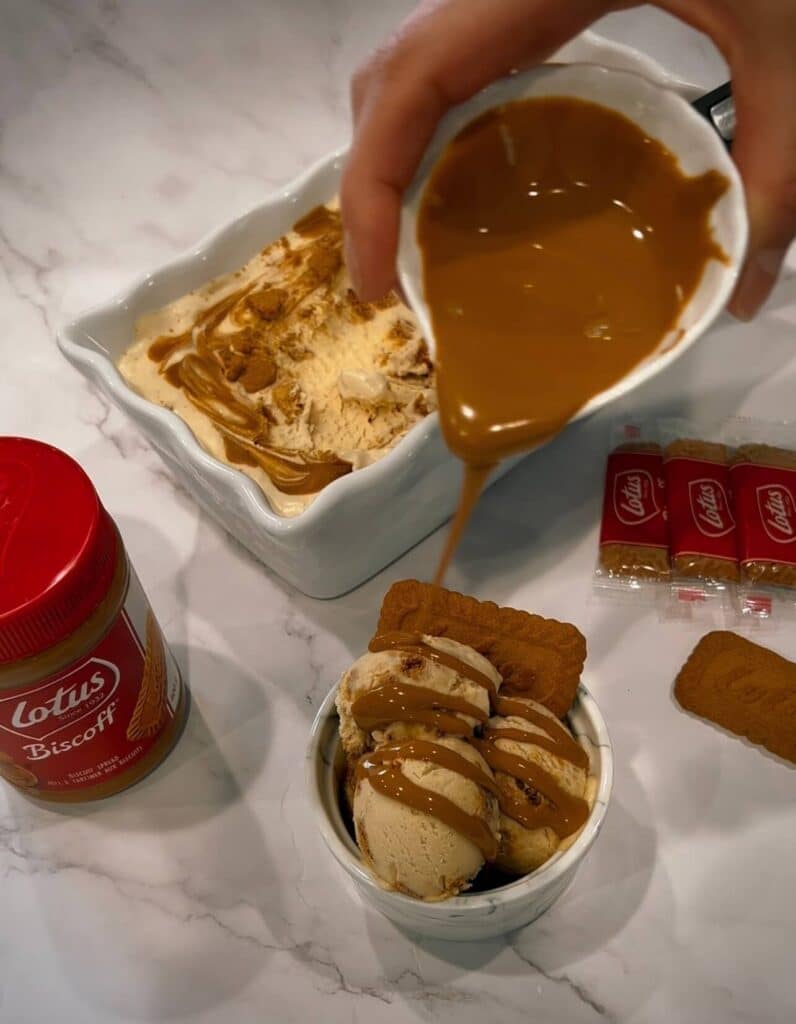
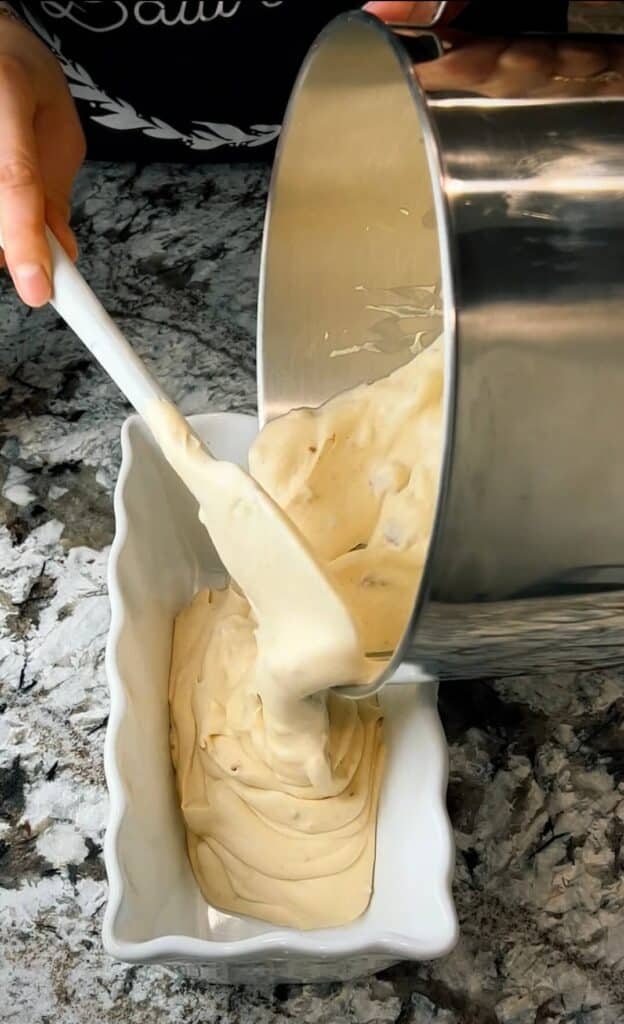
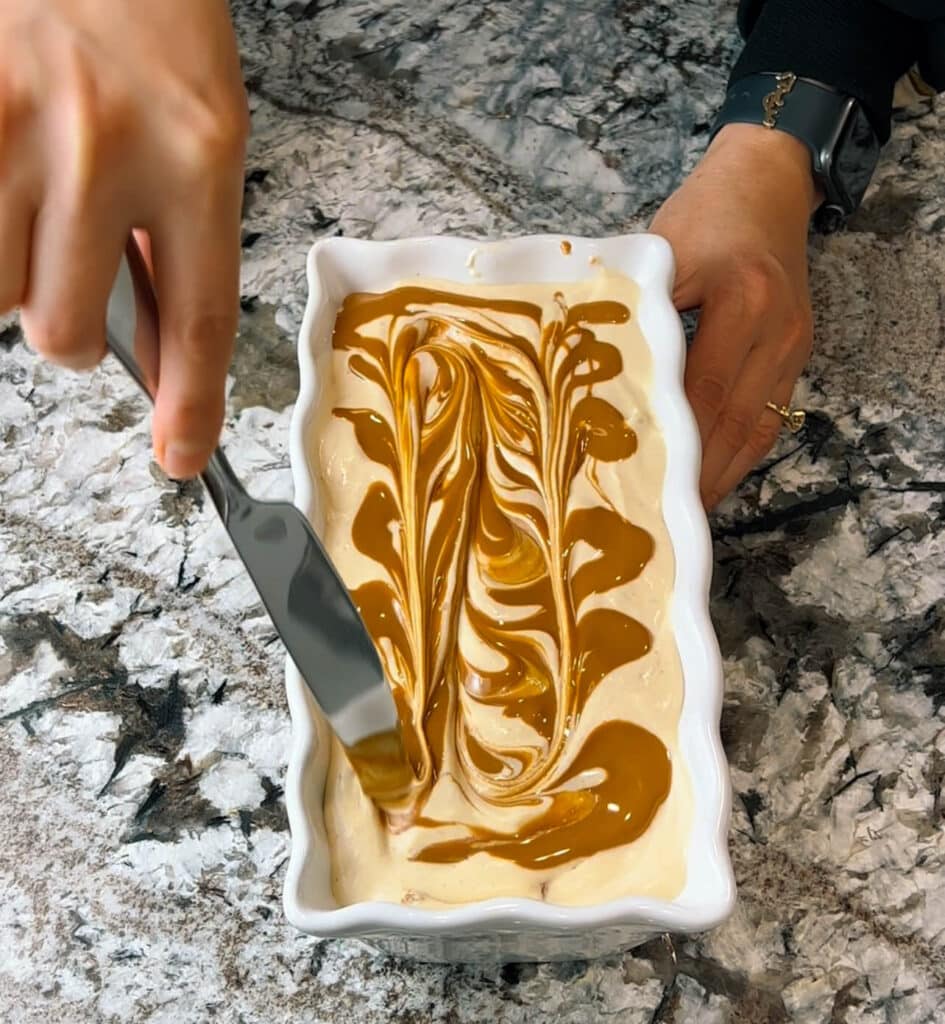
Step 4: Layer with Biscoff spread
Pour half of the mixture into a deep freezer-safe container. Drizzle some melted Biscoff spread on top. Add the remaining ice cream mixture, then finish with more melted Biscoff and crushed cookies on top for extra flavor and texture.
Step 5: Freeze
Cover the container and freeze for at least 6 hours, or overnight, until fully set and scoopable.

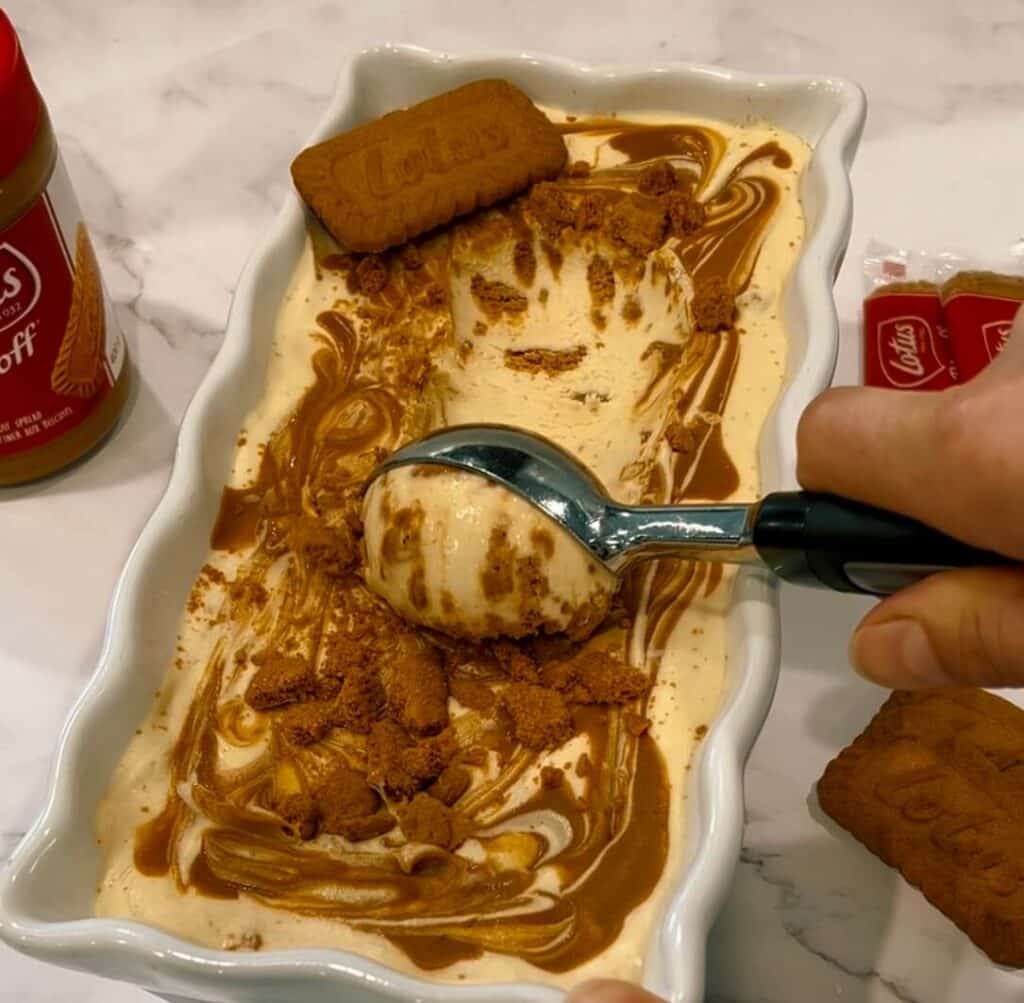
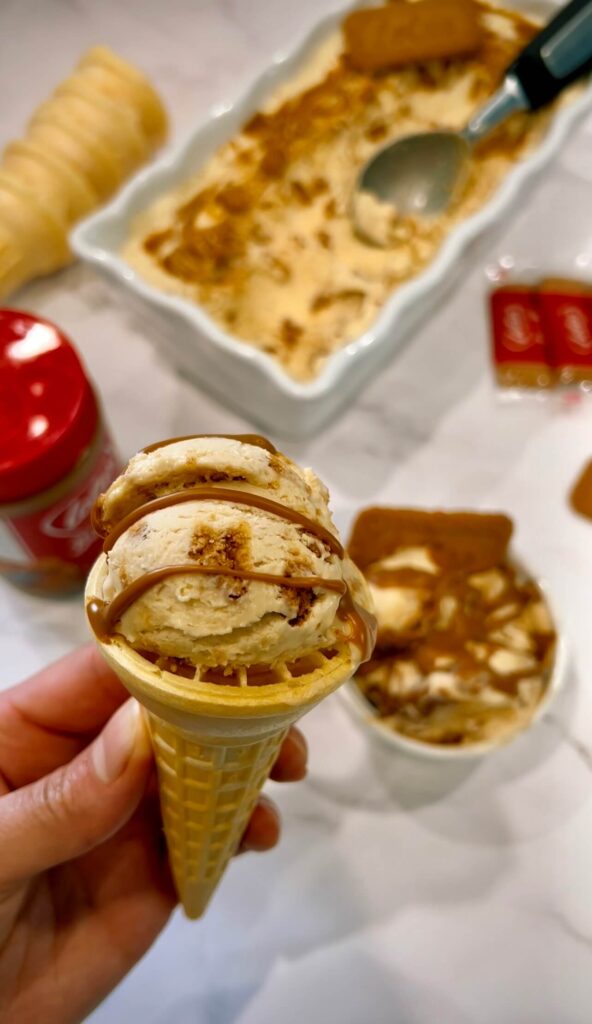
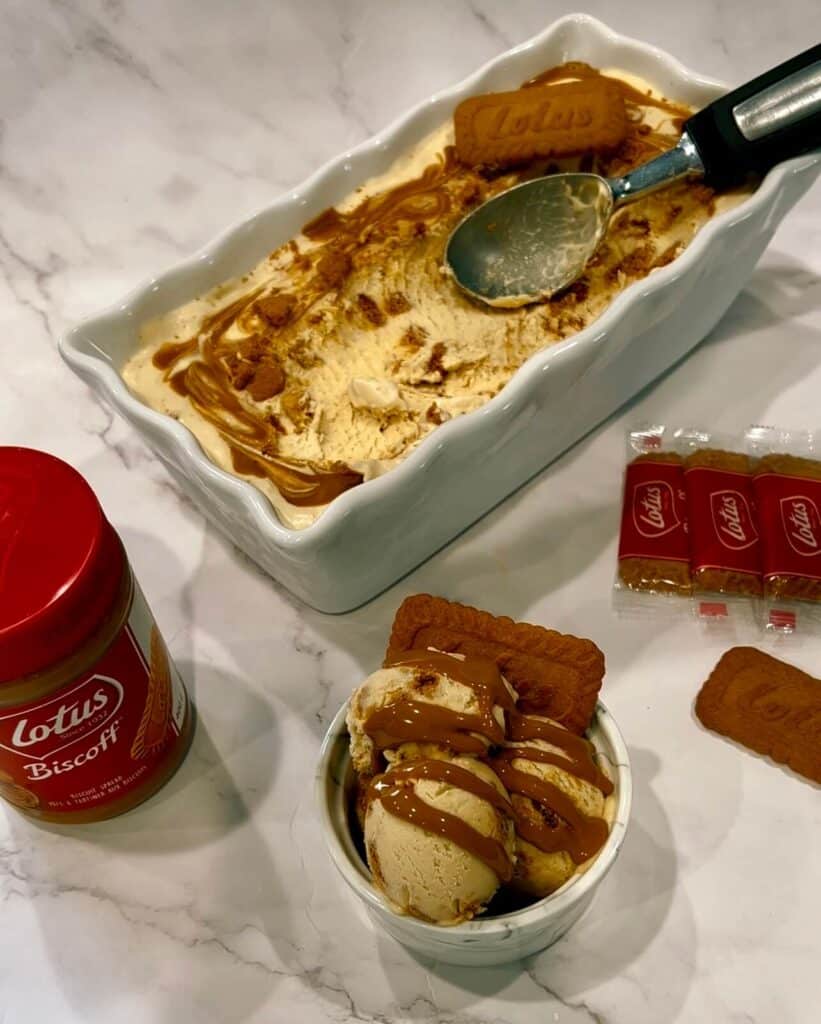
Step 6: Serve and enjoy
Scoop into cones or bowls and enjoy your homemade, creamy Biscoff ice cream! Optional: add more cookie crumbs or a drizzle of Biscoff spread before serving.
Frequently Asked Questions
Can I make this ice cream without a mixer?
Yes! You can use a whisk—it just takes more effort. Whip until thick and fluffy.
⸻
Is an ice cream maker required?
Nope! This is a no-churn recipe. No machine needed.
⸻
Can I make it less sweet?
Yes! Use less condensed milk or add more cream to adjust sweetness.
⸻
How long does it take to freeze?
At least 6 hours, but overnight is best.
⸻
How long does it last in the freezer?
Store in an airtight container for up to 2–3 weeks.
⸻
Can I use Biscoff alternatives?
Yes! Any cookie butter or spiced cookies will work.
⸻
Can I make it dairy-free?
Try coconut cream and dairy-free condensed milk. Texture may vary slightly.
How to Store Biscoff Ice Cream?
1. Use an airtight container
Transfer your ice cream to a freezer-safe, airtight container to prevent ice crystals and freezer burn. A loaf pan works great—just cover it tightly with plastic wrap or foil.
2. Press a layer on top
For extra protection, press a sheet of parchment paper or plastic wrap directly onto the surface of the ice cream before sealing the container. This helps maintain the creamy texture and keeps air out.
3. Store in the coldest part of your freezer
Place the container at the back of your freezer, where the temperature is most consistent. Avoid storing it in the freezer door, as the temperature fluctuates every time you open it.
4. Shelf life
Homemade Biscoff ice cream is best enjoyed within 2 to 3 weeks. While it may still be safe to eat after that, the texture and flavor will be at their peak within that window.
5. Let it sit before scooping
When you’re ready to serve, let the ice cream sit at room temperature for 5 to 10 minutes to soften slightly. This makes scooping easier and brings out all that creamy, cookie-butter flavor.
Tips and Tricks
1. Chill your bowl and beaters
For best results, place your mixing bowl and beaters in the fridge or freezer for 10–15 minutes before whipping the cream. This helps it whip up faster and fluffier.
2. Don’t overwhip the cream
Whip the cream until it forms soft to medium peaks. If you overwhip, it can become grainy or start turning into butter. Stop once it’s thick and holds its shape.
3. Adjust sweetness to your taste
Biscoff spread and condensed milk are both sweet, so feel free to adjust. Use less condensed milk or more cream if you prefer a less sweet version.
4. Melt the Biscoff spread before layering
For that beautiful swirl and easy layering, warm the Biscoff spread in the microwave for about 10–15 seconds until pourable.
5. Fold gently
When adding the crushed cookies, use a gentle folding motion to keep the mixture light and airy. Avoid stirring too hard, or you’ll deflate the whipped cream.
6. Get creative with toppings
Top with extra cookie crumbs, a drizzle of melted Biscoff, or even white chocolate chips for an extra indulgent touch.
7. Use a freezer-safe container
Choose a deep, airtight container (like a loaf pan or ice cream tub) to help the ice cream freeze evenly and stay fresh longer.
8. Let it sit before scooping
Before serving, let the ice cream sit at room temperature for 5–10 minutes to soften slightly. This makes it easier to scoop and enhances the flavor.
9. Make it a dessert combo
Serve your Biscoff ice cream with warm brownies, between cookies as a sandwich, or on top of waffles for an epic dessert!
More recipes to try

Middle eastern bird nest baklava


Biscoff ice cream
Equipment
- stand mixer or hand mixer
Ingredients
- 2 cups whipping cream heavy cream
- 1 can 300 ml sweetened condensed milk use the whole can or ¾ of it (I found it a little too sweet with the whole can)
- 12 crushed Biscoff cookies
- 2 tbsp Biscoff spread
layering & topping:
- 2 crushed cookies
- ¼ cup melted Biscoff spread
Instructions
- In a bowl, add the whipping cream, sweetened condensed milk, and Biscoff spread.
- Using a hand or stand mixer, whip until the mixture becomes thick and fluffy.
- Fold in the crushed Biscoff cookies.
- In a deep dish, pour in half of the mixture, then drizzle 2 tbsp of the melted Biscoff spread. Add the remaining mixture and top with more melted spread and crushed cookies.
- Freeze overnight or for at least 6 hours.
- Enjoy in a cone or a cup